
Wiz Avenue
-
How To
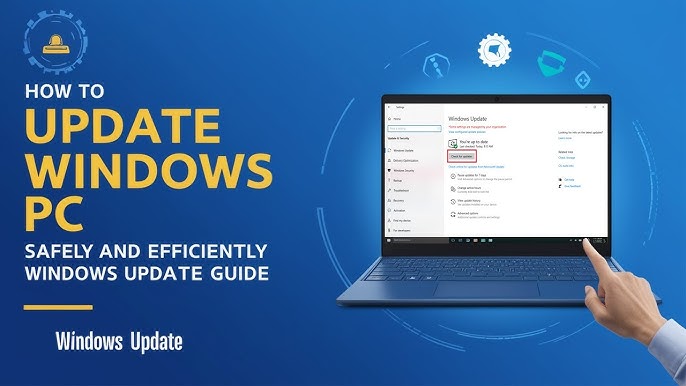
How to Update Your Computer Software Safely
Keeping your computer software up to date is important for security, performance, and accessing new features. However, many people…
Read More » -
How To
How to Install and Uninstall Software Properly
Installing and uninstalling software might sound simple, but doing it the right way helps keep your computer safe,…
Read More » -
How To
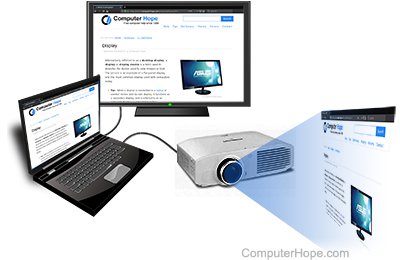
How to Connect Your Computer to a Projector or TV
Connecting your computer to a projector or TV can be useful for presentations, watching movies on a bigger…
Read More » -
How To
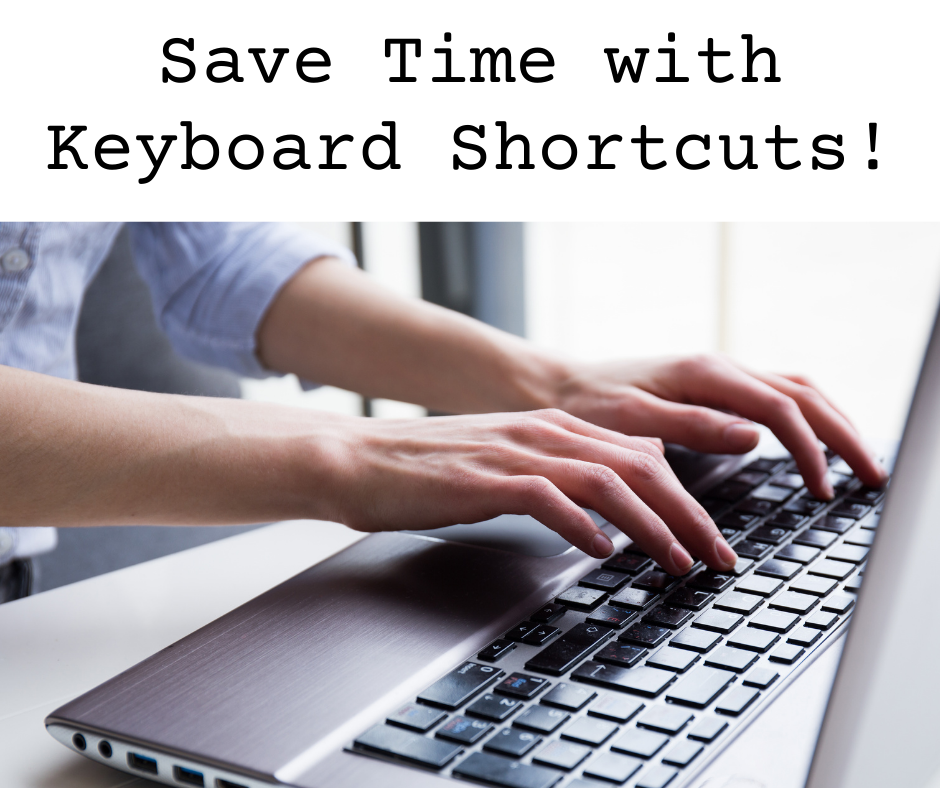
How to Use Keyboard Shortcuts to Save Time
Keyboard shortcuts are a simple way to work faster and more efficiently on your computer. Instead of clicking…
Read More » -
How To

How to Start a Podcast on a Budget
Podcasting is a powerful way to share your ideas, stories, or expertise with the world but many people…
Read More » -
How To
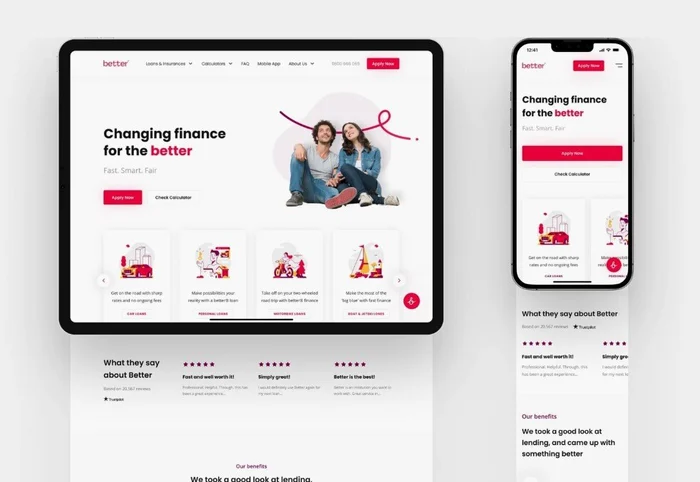
How to Design a Mobile Friendly Website
More than half of all web traffic today comes from smartphones. That means if your website isn’t mobile-friendly,…
Read More » -
How To
How to Clear Cache and Cookies on Your Browser
Over time, your web browser stores small files called cache and cookies. While they help websites load faster…
Read More » -
How To
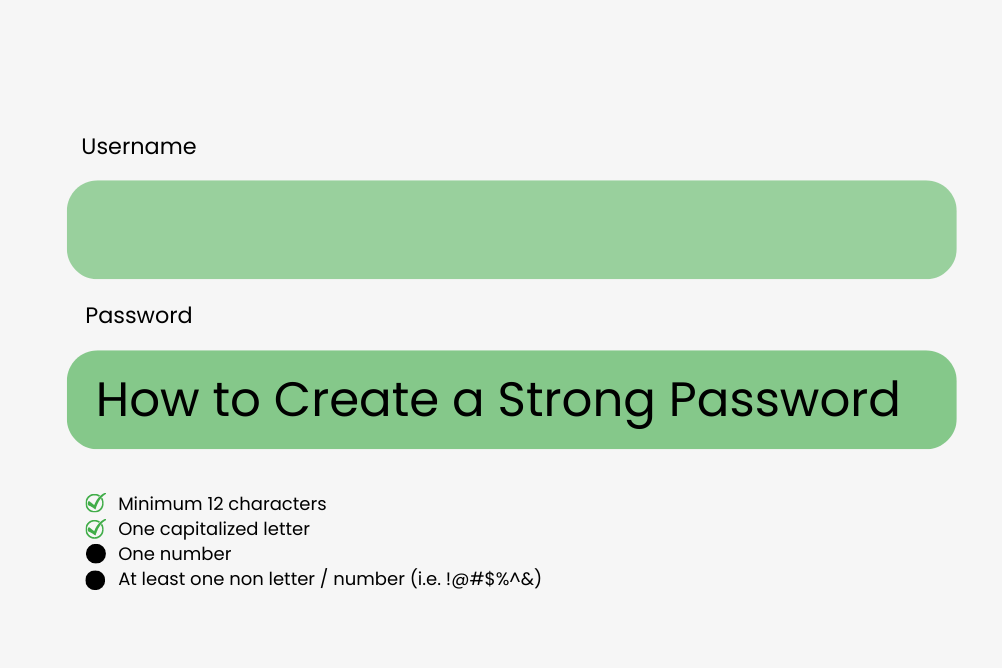
How to Set a Strong Password
Your password is the first line of defense against hackers, so having a strong one is very important.…
Read More » -
How To
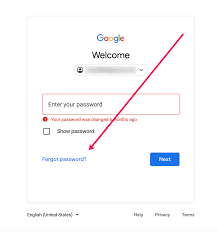
How to Reset Your Email Password
Forgetting your email password happens to everyone at some point. The good news is, resetting it is quick and…
Read More » -
How To
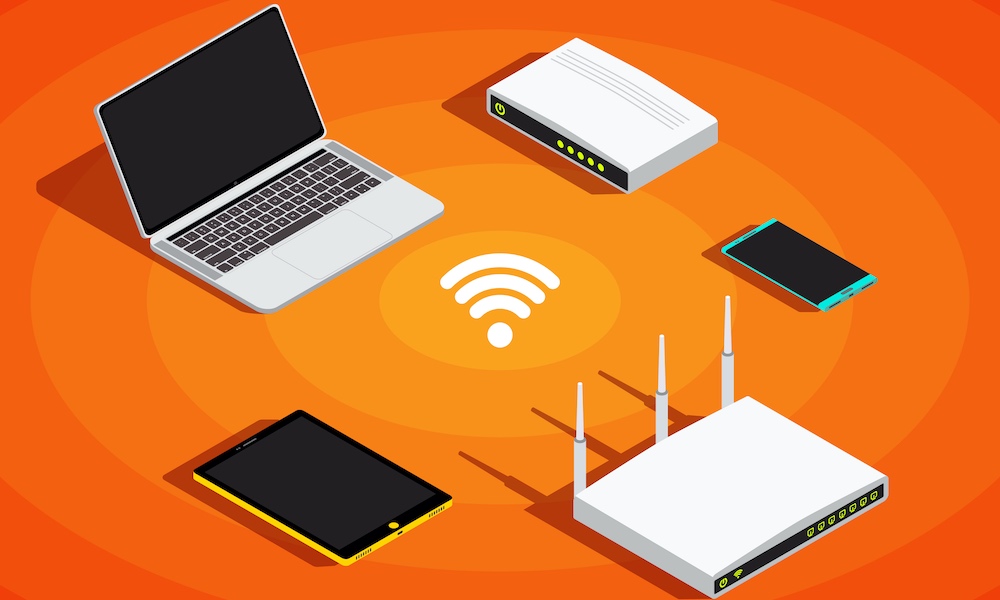
How to Connect to Wi-Fi on Different Devices
Connecting to Wi-Fi is essential for browsing the internet, streaming, or working online. Here’s how you can do…
Read More »