
Wiz Avenue
-
How To

How to Set Up an Online Store
Selling products online is one of the fastest ways to grow a business today. An online store allows…
Read More » -
How To
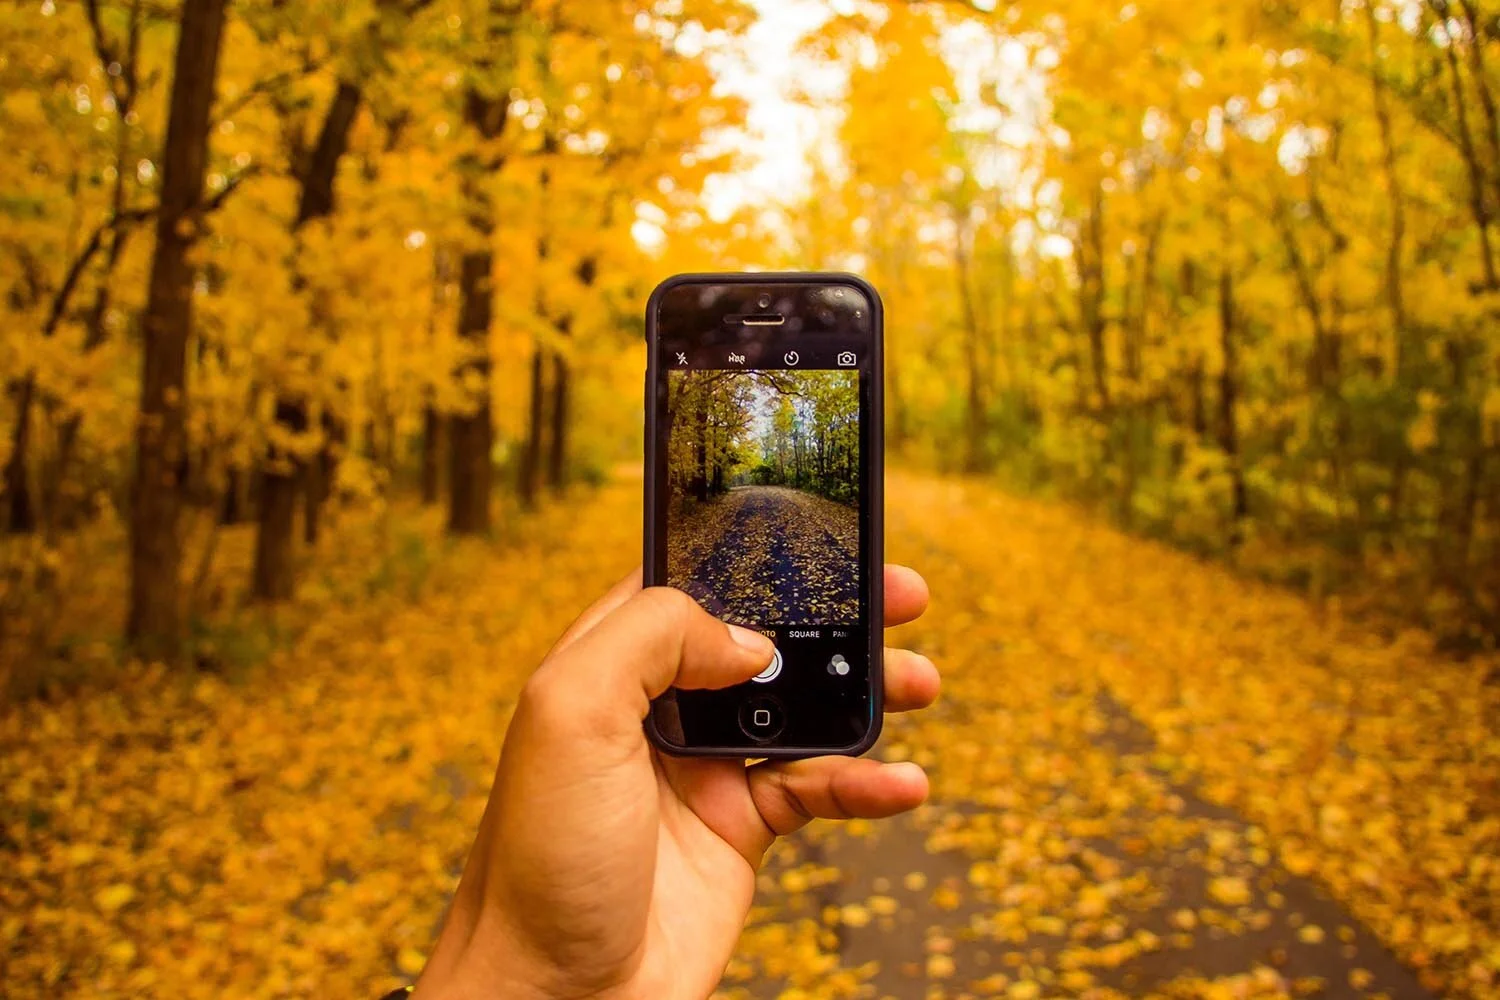
How to Take Better Photos with Your Phone
You don’t need a professional camera to capture stunning photos your smartphone is more powerful than you think.…
Read More » -
How To
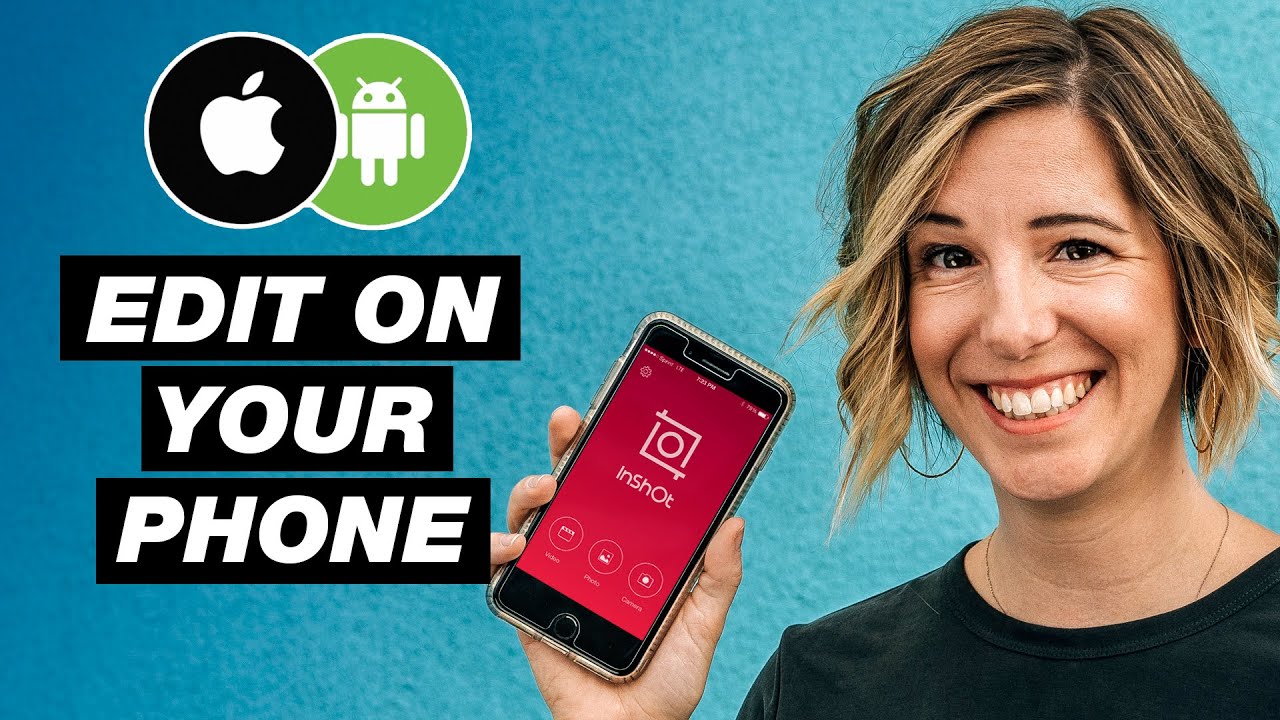
How to Edit Videos on Your Phone
Video editing doesn’t have to be complicated you don’t need a computer or expensive software. With just your smartphone,…
Read More » -
How To
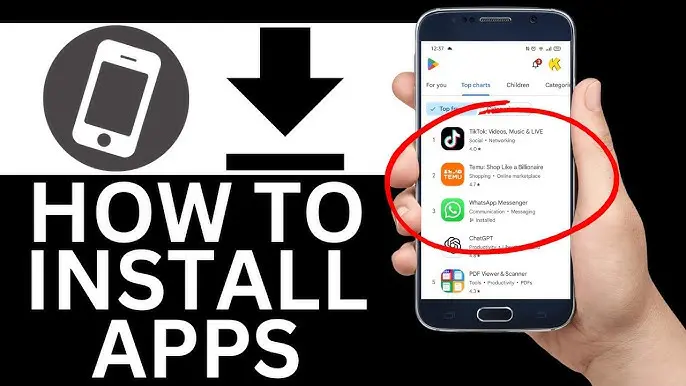
How to Download and Install Apps Safely
Apps make our phones and computers more useful but downloading from the wrong place can put your device…
Read More » -
How To
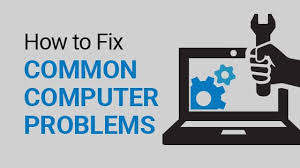
How to Fix Common Computer Problems
Computers are powerful tools, but sometimes they don’t work the way we expect. From slow performance to unexpected…
Read More » -
How To
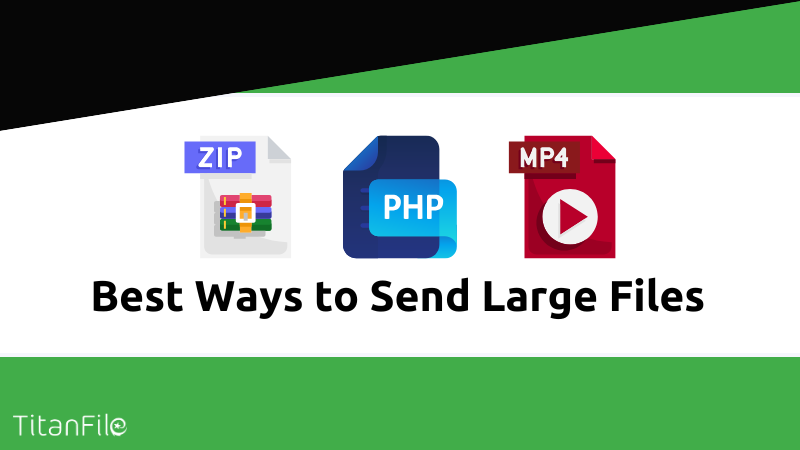
How to Share Large Files Online Safely
Sometimes, email attachments aren’t enough when you need to send large videos, documents, or photos. Luckily, there are…
Read More » -
How To
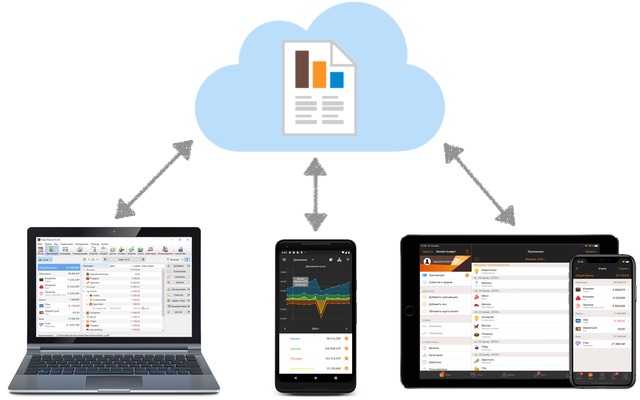
How to Sync Your Data Across Multiple Devices
In today’s digital world, many of us use more than one device like a phone, laptop, or tablet.…
Read More » -
How To
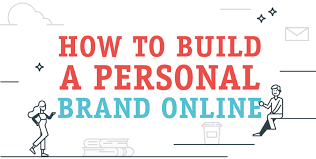
How to Build Your Personal Brand Online
In today’s digital world, your online presence is just as important as your real-life reputation. Whether you’re a…
Read More » -
How To
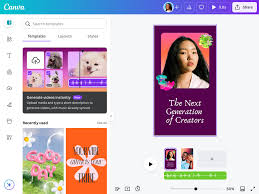
How to Design Social Media Graphics on Canva
Social media is all about visuals. Whether you’re posting for fun, promoting your business, or building your personal brand,…
Read More » -
How To
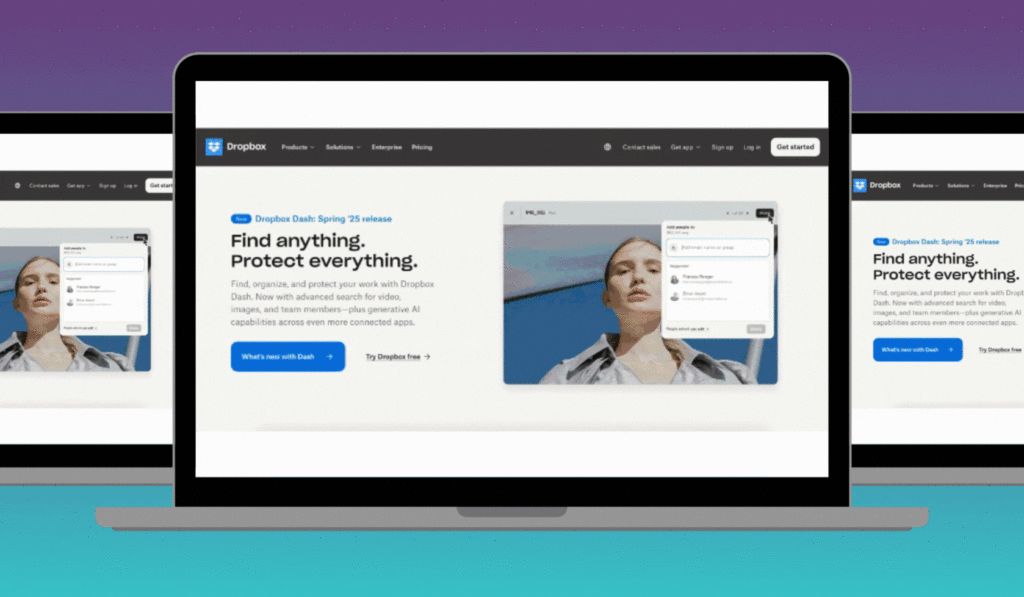
How to Design a Professional Looking Homepage
Your homepage is the first impression visitors get when they land on your website. A well designed homepage makes…
Read More »