
Wiz Avenue
-
How To
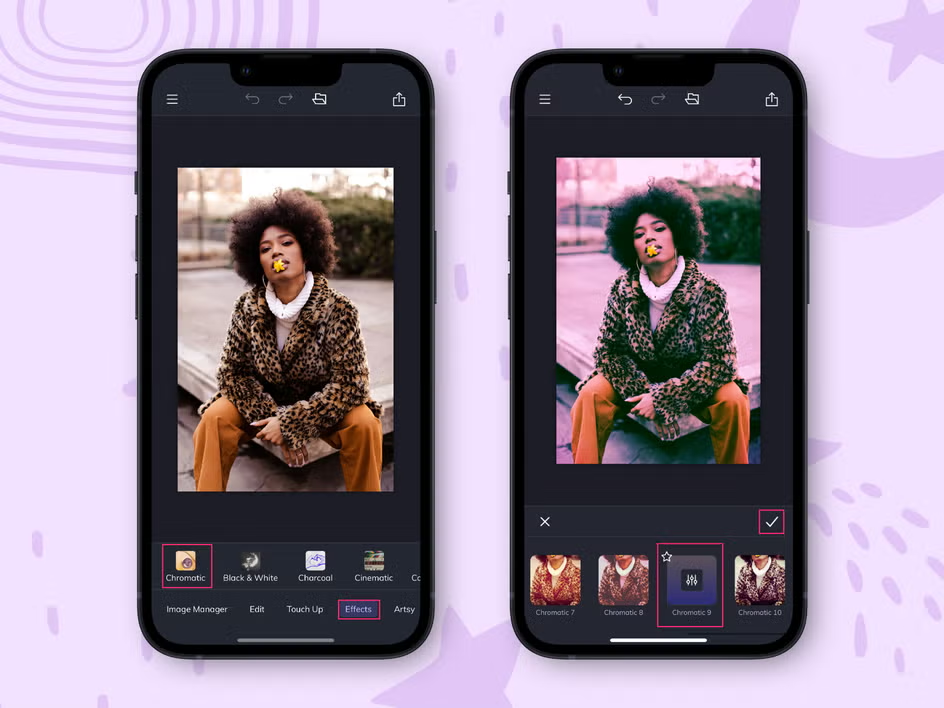
How to Edit Photos on Your Phone
These days, you don’t need a fancy camera or expensive software to make your photos look amazing. With…
Read More » -
How To

How to Start a YouTube Channel
YouTube is one of the most powerful platforms to share your ideas, skills, and creativity. Starting a channel…
Read More » -
How To
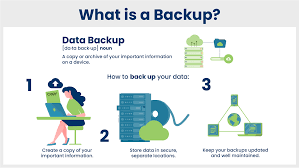
How to Back Up Your Data Safely
Data loss can happen at any time whether from a phone crash, computer damage, or cyberattacks. Backing up your…
Read More » -
How To
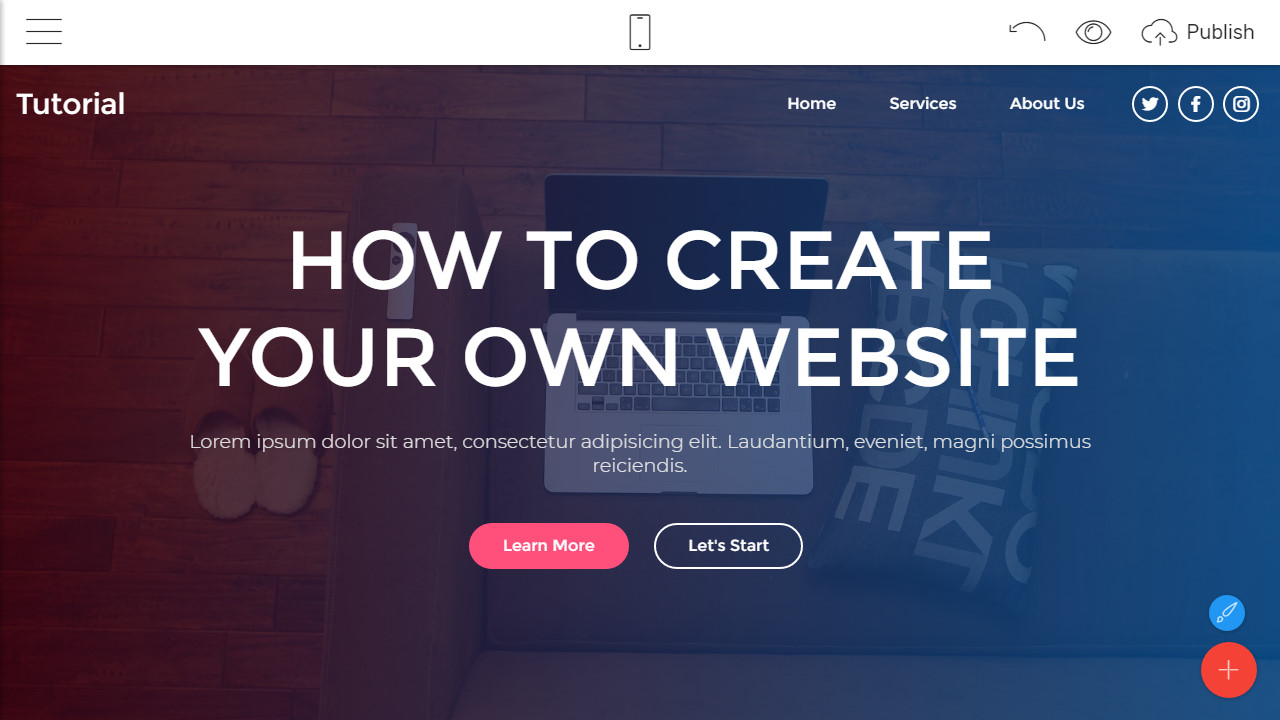
How to Create a Simple Website
Building a website is no longer something only experts can do. With modern tools, anyone can create a…
Read More » -
How To
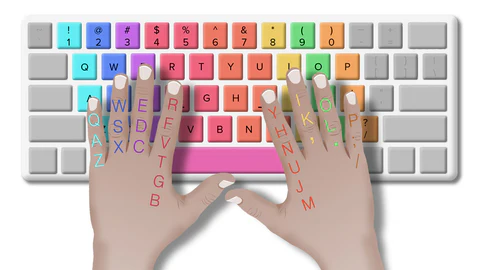
How to Type Faster and Improve Your Keyboard Skills
Typing is one of the most essential digital skills today. Whether you’re a student, a professional, or just…
Read More » -
How To

How to Use Microsoft Word Like a Pro
Microsoft Word is more than just a simple typing tool it’s packed with features that can help you create…
Read More » -
How To
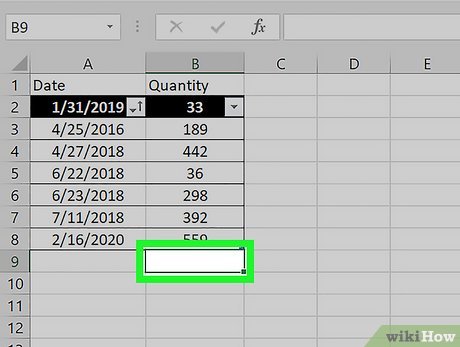
How to Use Excel for Beginners
Microsoft Excel is one of the most powerful tools for organizing data, performing calculations, and creating reports. While it…
Read More » -
How To
How to Detect and Remove Viruses from Your Computer
Computer viruses can slow down your system, steal your information, and even damage files. The good news is,…
Read More » -
How To
How to Create a Facebook Page for Your Business
In today’s digital world, every business needs an online presence, and Facebook is one of the best places to…
Read More » -
How To
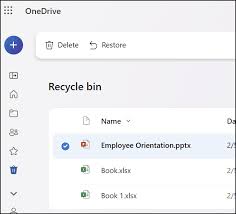
How to Save and Organize Files in OneDrive
Microsoft OneDrive is a cloud storage service that lets you save, access, and share your files from anywhere. Whether…
Read More »