
Wiz Avenue
-
Travel Tips

Forgot Your DV-2026 Confirmation Number? Here’s How To Recover It
If you’ve lost or forgotten your DV-2026 confirmation number, don’t panic — you can still check your result. The U.S.…
Read More » -
Travel News
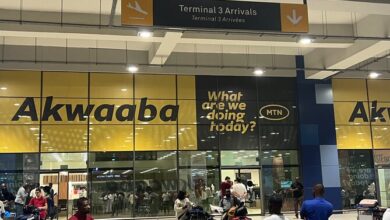
Ghana Announces Free Visas for Diaspora Summit 2025 Participants
Ghana’s Ministry of Foreign Affairs says participants in the Diaspora Summit 2025 will get free visas to attend the event…
Read More » -
Travel Tips

Air Transat to start direct Toronto – Accra flights in summer 2026
Air Transat will launch direct flights between Toronto and Accra in the summer of 2026, giving Ghana its first non-stop…
Read More » -
Travel News

Botswana puts citizenship up for sale a month after losing UK visa-free travel
Botswana will start selling its citizenship to foreign investors from early 2026. The new scheme comes just a month after…
Read More » -
Travel News

Ghana Qualifies for 2026 FIFA World Cup; Foreign Minister Promises Easier Visas for Fans
Ghana has officially qualified for the 2026 FIFA World Cup after a hard-fought 1–0 victory over Comoros at the Accra…
Read More » -
Travel News

South Africa Welcomes Global Tourism Leaders for Investment Forum
South Africa hosted the Tourism Investment Forum with UN Tourism, bringing together investors, policymakers, and tourism leaders from around the…
Read More » -
How To

How to Become a Better Writer Without Paying for Classes
Becoming a better writer doesn’t require a fancy degree or expensive course. What it truly takes is curiosity,…
Read More » -
How To

How to Learn Job Ready Skills for Free
In today’s competitive job market, having the right skills matters just as much as having a degree. Employers…
Read More » -
How To

How to Master a Specific Skill Without Spending a Dime
In a world filled with online courses, expensive programs, and training fees, it’s easy to think you need…
Read More » -
How To
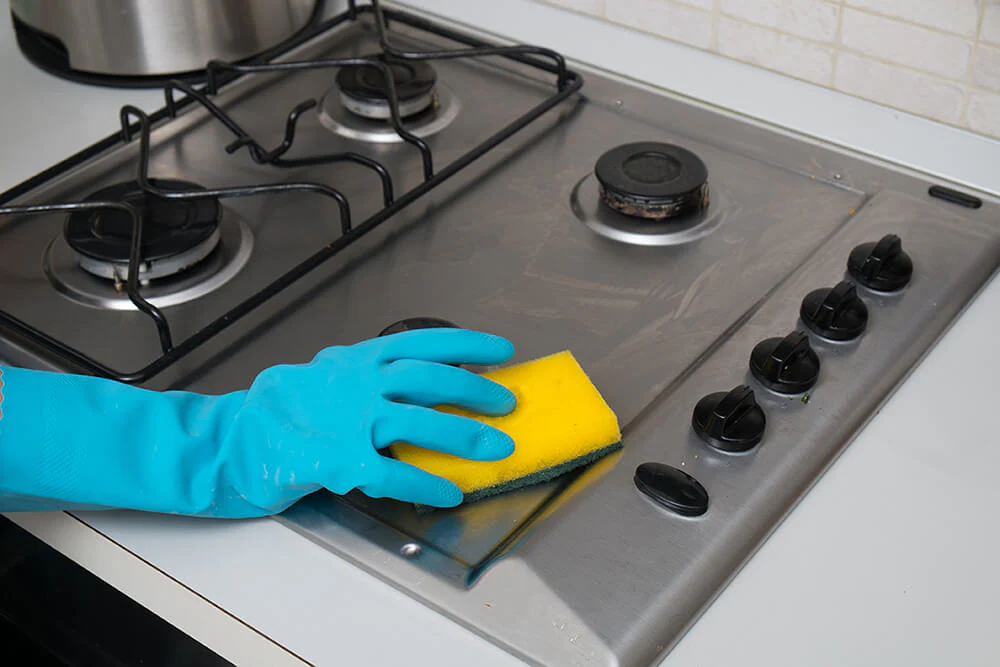
How to Clean and Maintain Your Gas Cooker for Safety
A gas cooker is one of the most important appliances in the home, but it also poses a safety…
Read More »