How to Add Images and Videos to Your Website
-
How To
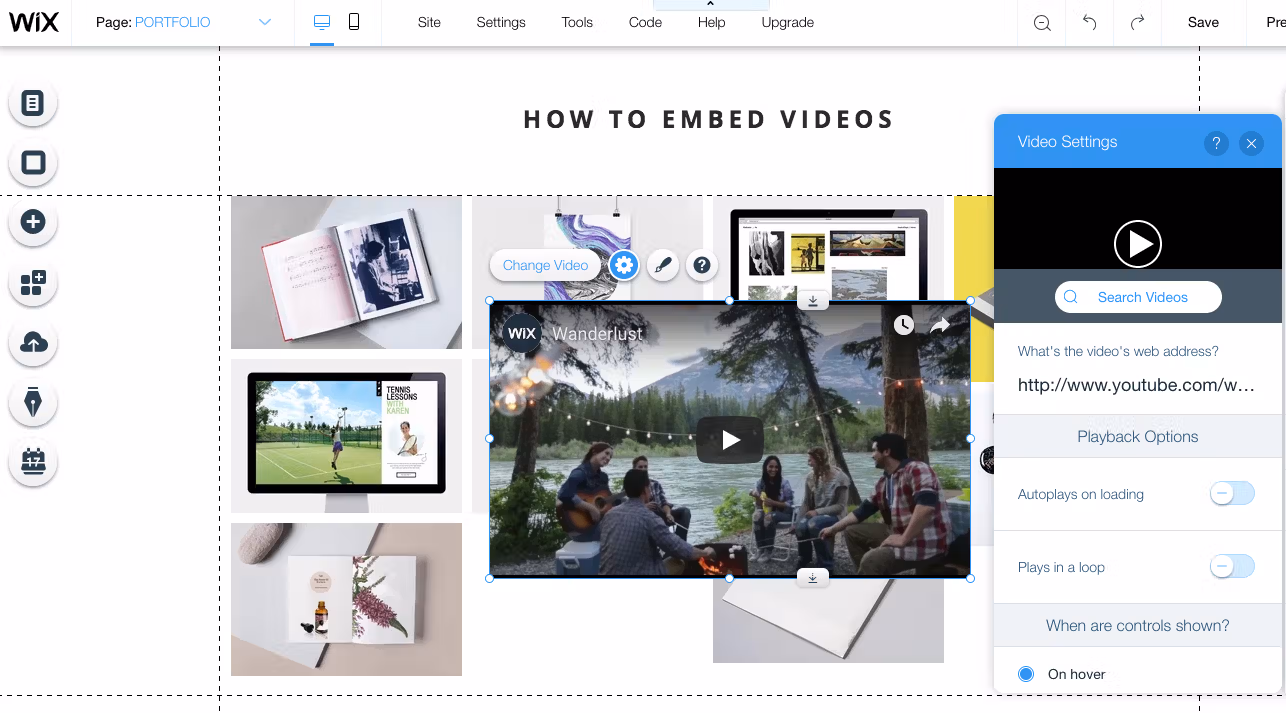
How to Add Images and Videos to Your Website
Images and videos make a website more attractive, engaging, and professional. They help explain your content better and…
Read More »

Images and videos make a website more attractive, engaging, and professional. They help explain your content better and…
Read More »