
How To
-
How to Use Keyboard Shortcuts to Save Time
Keyboard shortcuts are a simple way to work faster and more efficiently on your computer. Instead of clicking…
Read More » -

How to Start a Podcast on a Budget
Podcasting is a powerful way to share your ideas, stories, or expertise with the world but many people…
Read More » -
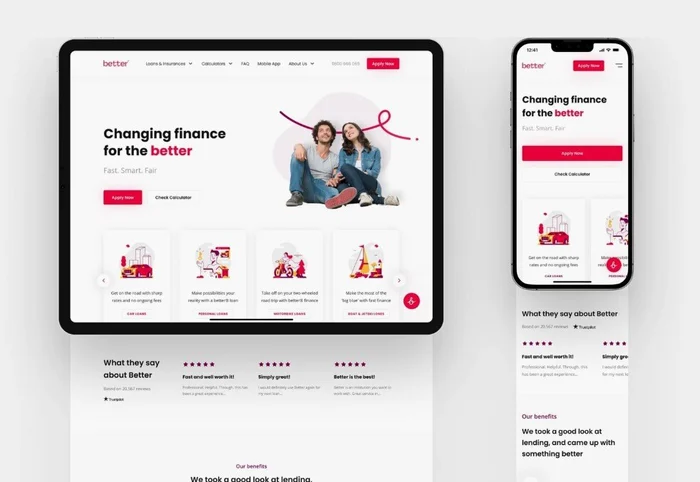
How to Design a Mobile Friendly Website
More than half of all web traffic today comes from smartphones. That means if your website isn’t mobile-friendly,…
Read More » -
How to Clear Cache and Cookies on Your Browser
Over time, your web browser stores small files called cache and cookies. While they help websites load faster…
Read More » -
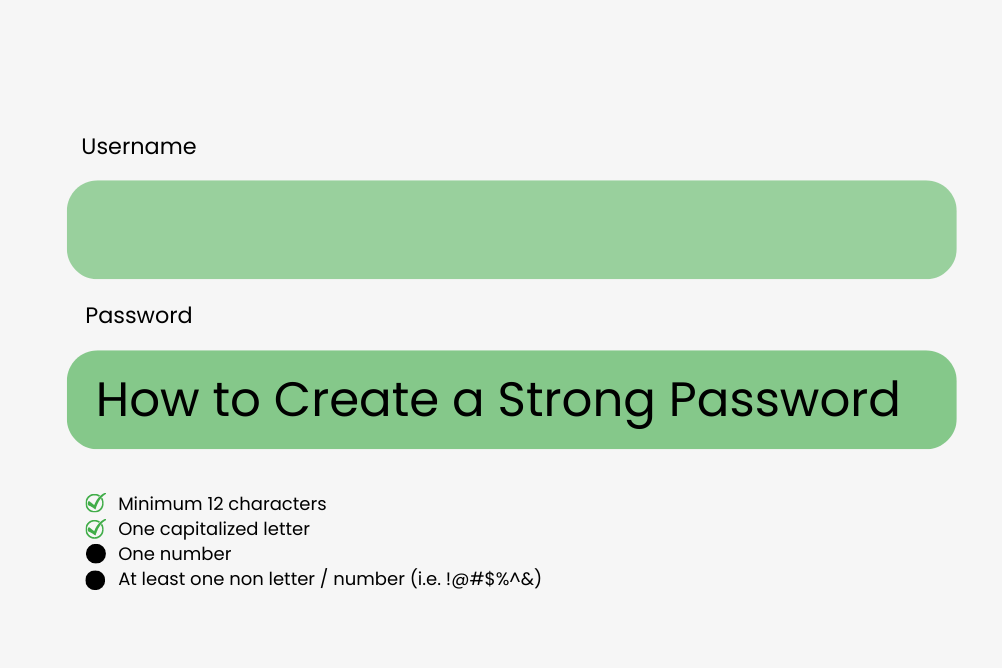
How to Set a Strong Password
Your password is the first line of defense against hackers, so having a strong one is very important.…
Read More » -
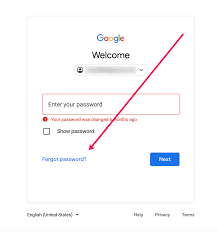
How to Reset Your Email Password
Forgetting your email password happens to everyone at some point. The good news is, resetting it is quick and…
Read More » -
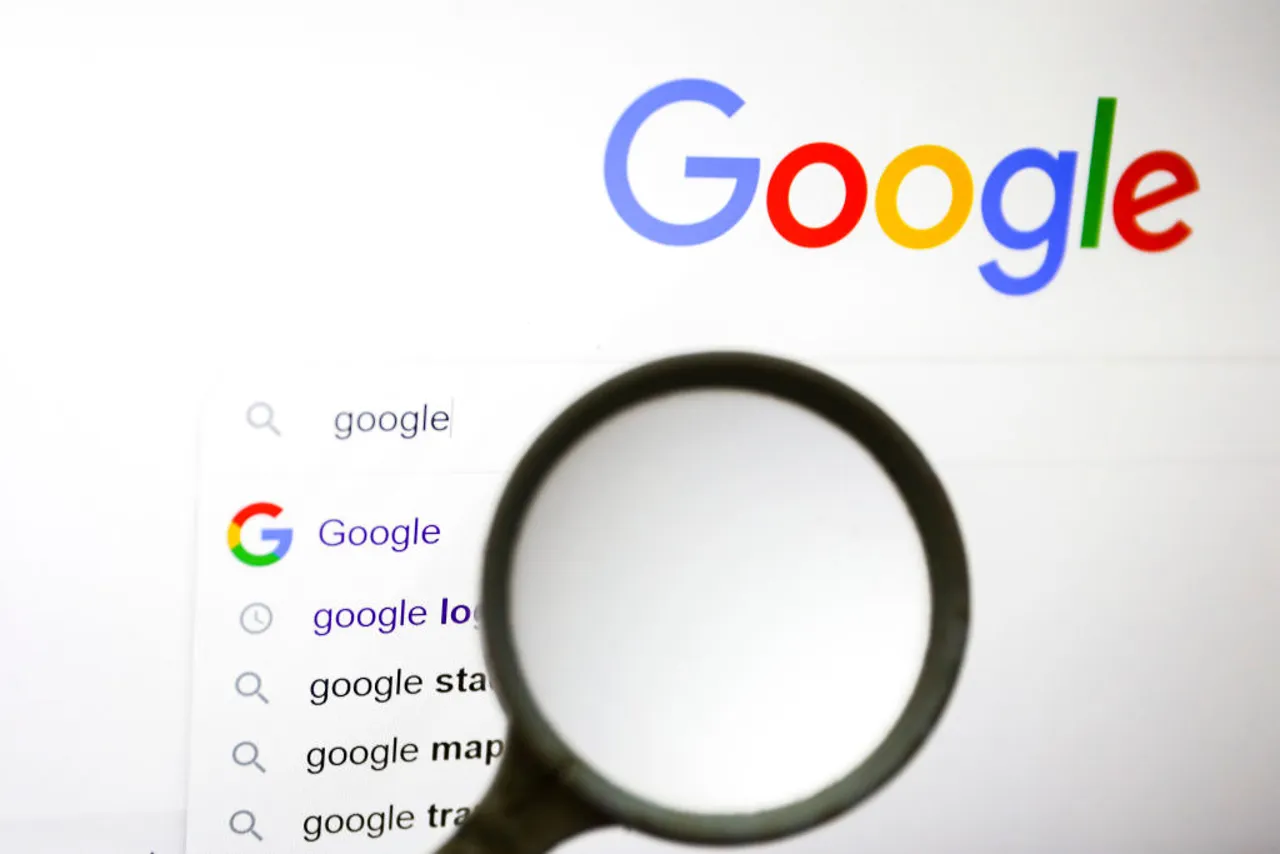
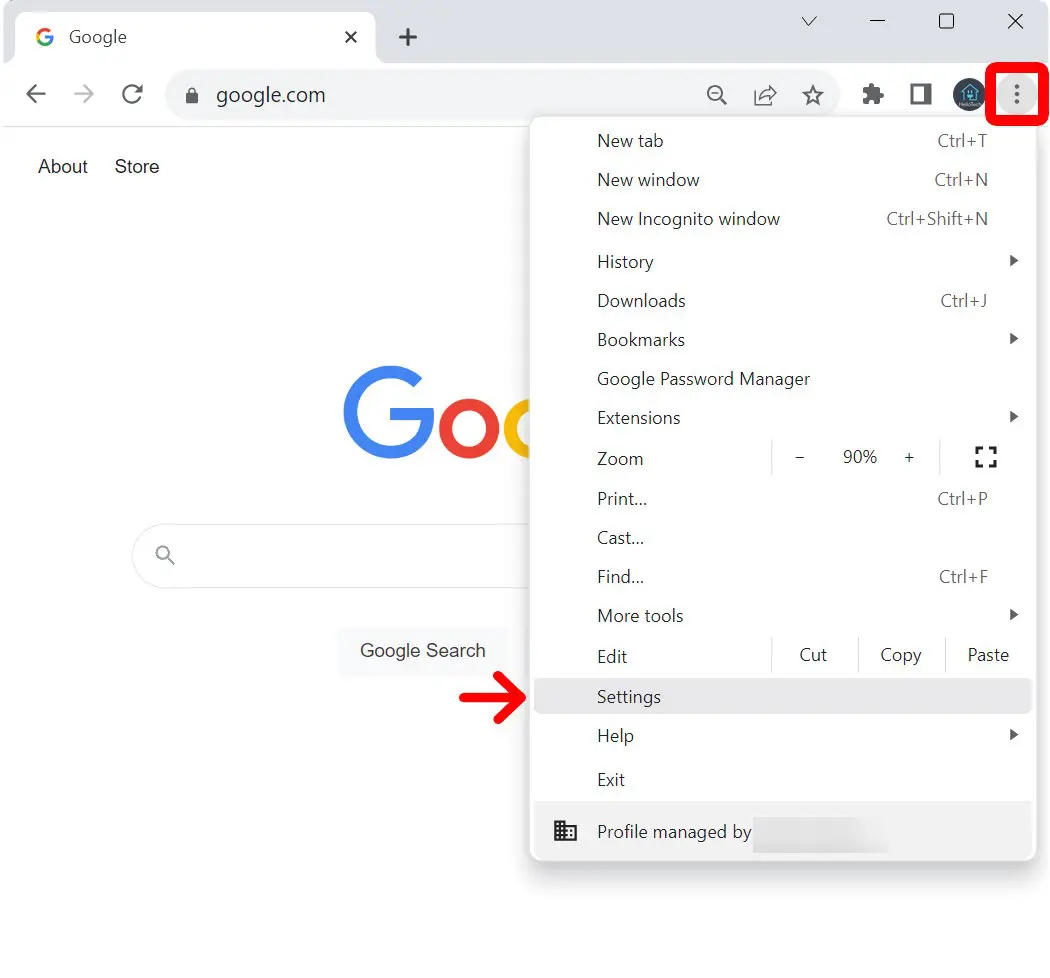
How to Use Google Search More Effectively
Google is the most popular search engine, but many people don’t know how to use it to its full…
Read More » -
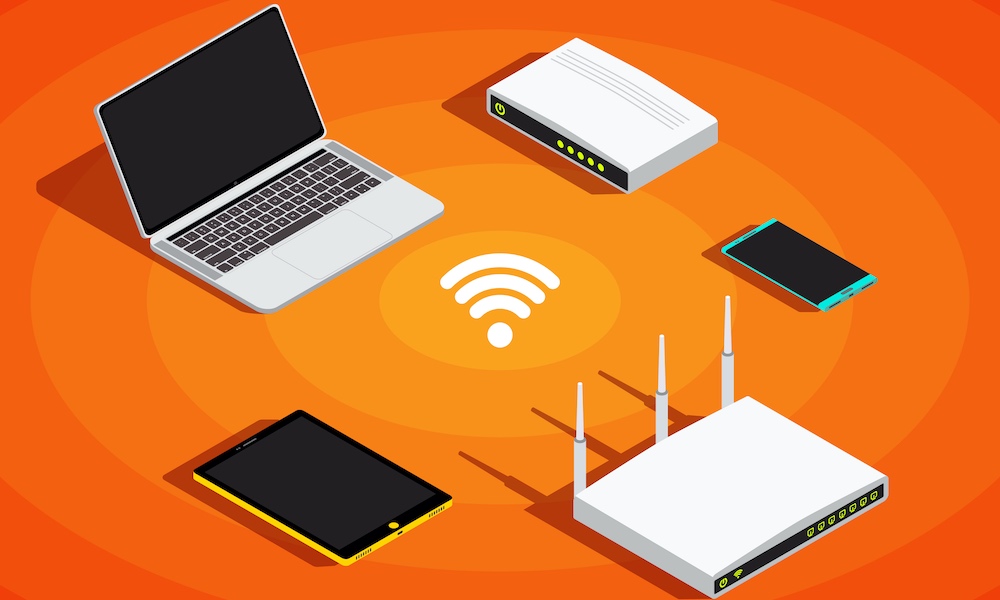
How to Connect to Wi-Fi on Different Devices
Connecting to Wi-Fi is essential for browsing the internet, streaming, or working online. Here’s how you can do…
Read More » -
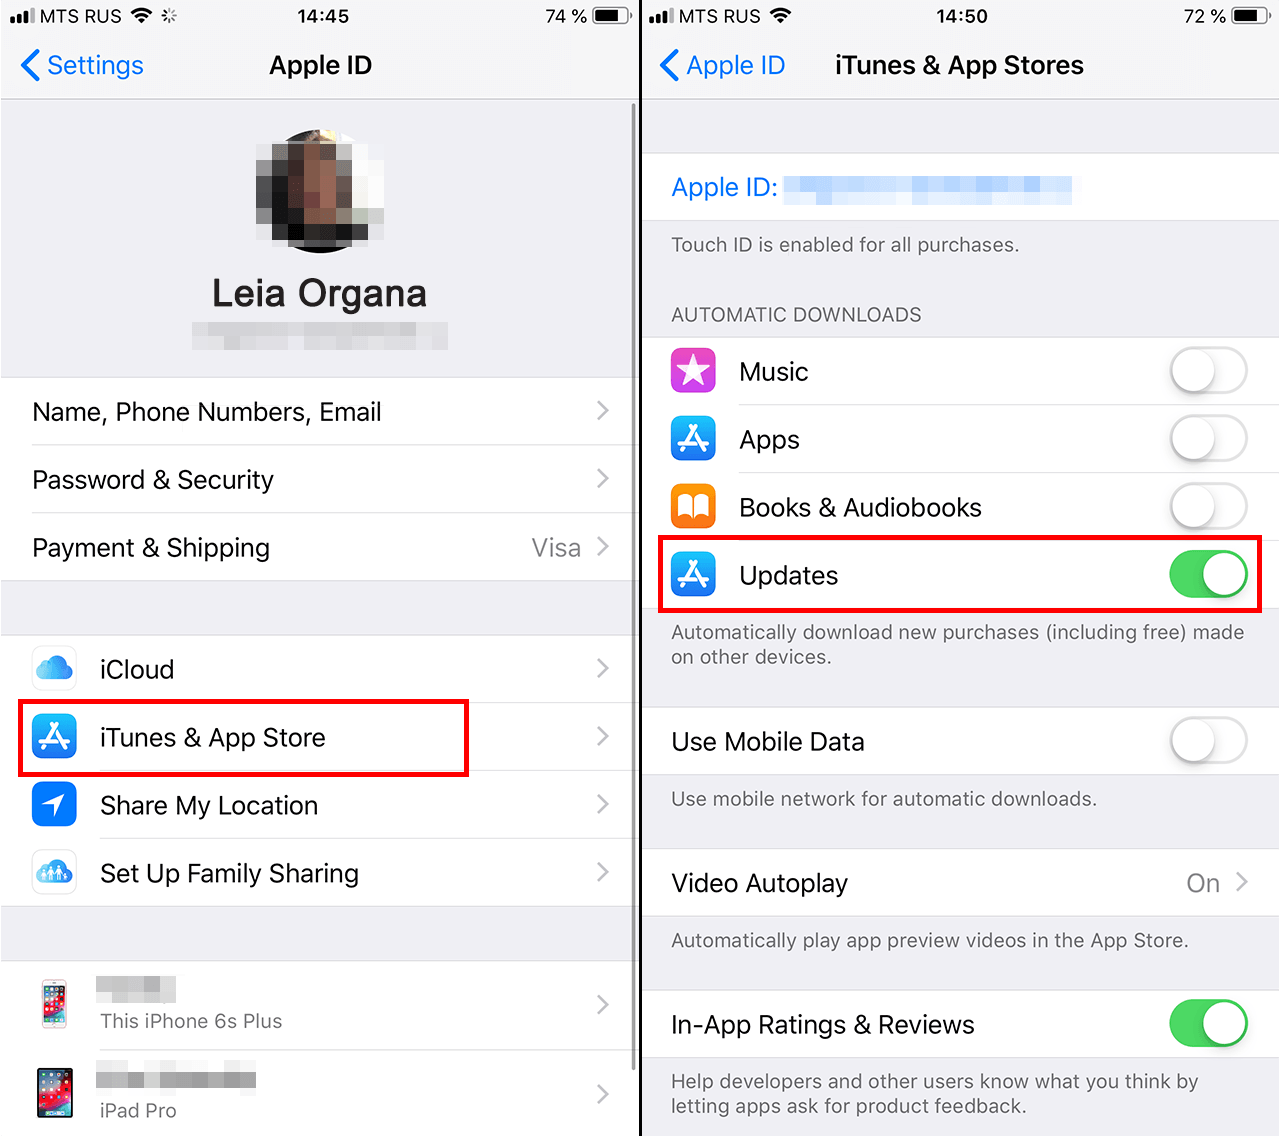
How to Update Apps on Android or iPhone
Updating your apps is important because it gives you access to the latest features, bug fixes, and security improvements.…
Read More » -

How to Take Better Selfies
Selfies have become a fun way to capture memories, share moments, and express yourself. But not every selfie turns…
Read More »