
How To
-
How to Fix Common Computer Problems
Computers are powerful tools, but sometimes they don’t work the way we expect. From slow performance to unexpected…
Read More » -
How to Share Large Files Online Safely
Sometimes, email attachments aren’t enough when you need to send large videos, documents, or photos. Luckily, there are…
Read More » -
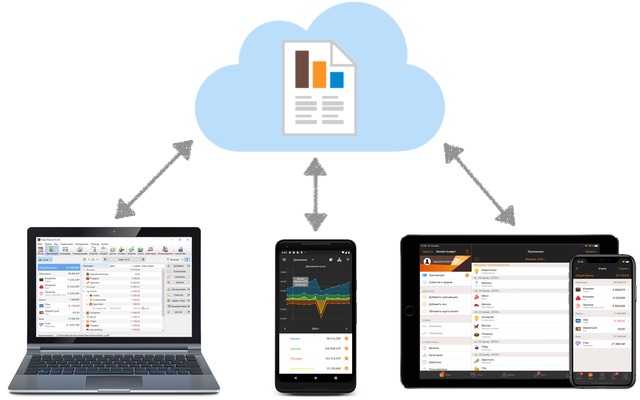
How to Sync Your Data Across Multiple Devices
In today’s digital world, many of us use more than one device like a phone, laptop, or tablet.…
Read More » -
How to Build Your Personal Brand Online
In today’s digital world, your online presence is just as important as your real-life reputation. Whether you’re a…
Read More » -
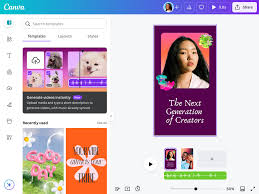
How to Design Social Media Graphics on Canva
Social media is all about visuals. Whether you’re posting for fun, promoting your business, or building your personal brand,…
Read More » -
How to Design a Professional Looking Homepage
Your homepage is the first impression visitors get when they land on your website. A well designed homepage makes…
Read More » -
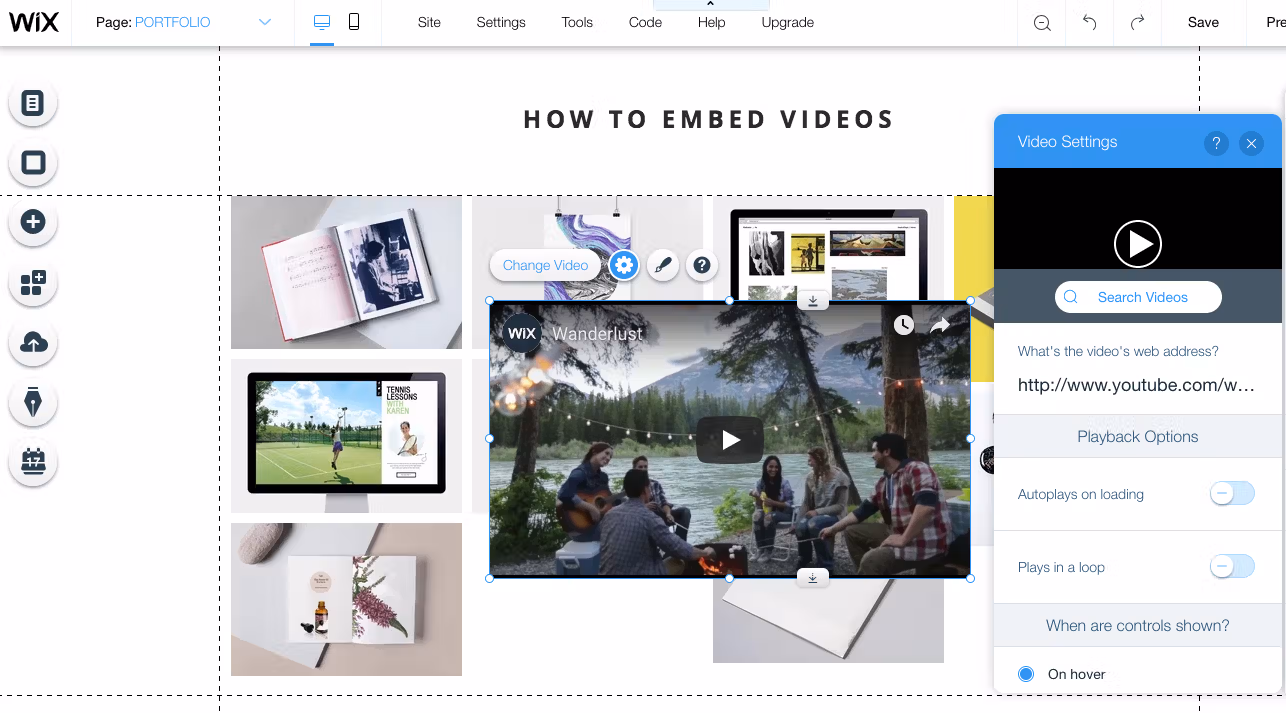
How to Add Images and Videos to Your Website
Images and videos make a website more attractive, engaging, and professional. They help explain your content better and…
Read More » -
How to Clean and Speed Up Your Computer
Over time, computers can become slow, cluttered, and less efficient. The good news is that you don’t always…
Read More » -
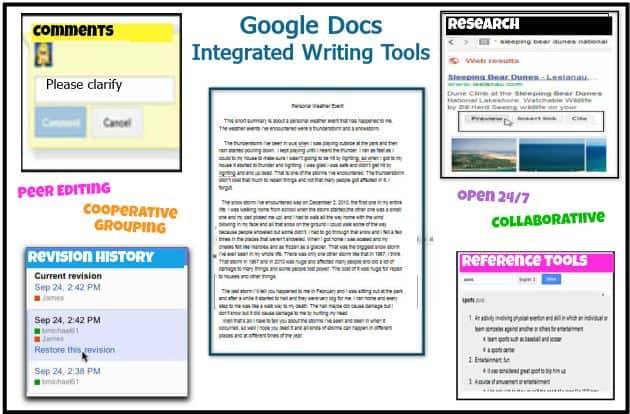
How to Use Google Docs for School or Work
Google Docs is a free online word processor that makes writing, editing, and sharing documents simple. Whether you’re a…
Read More » -
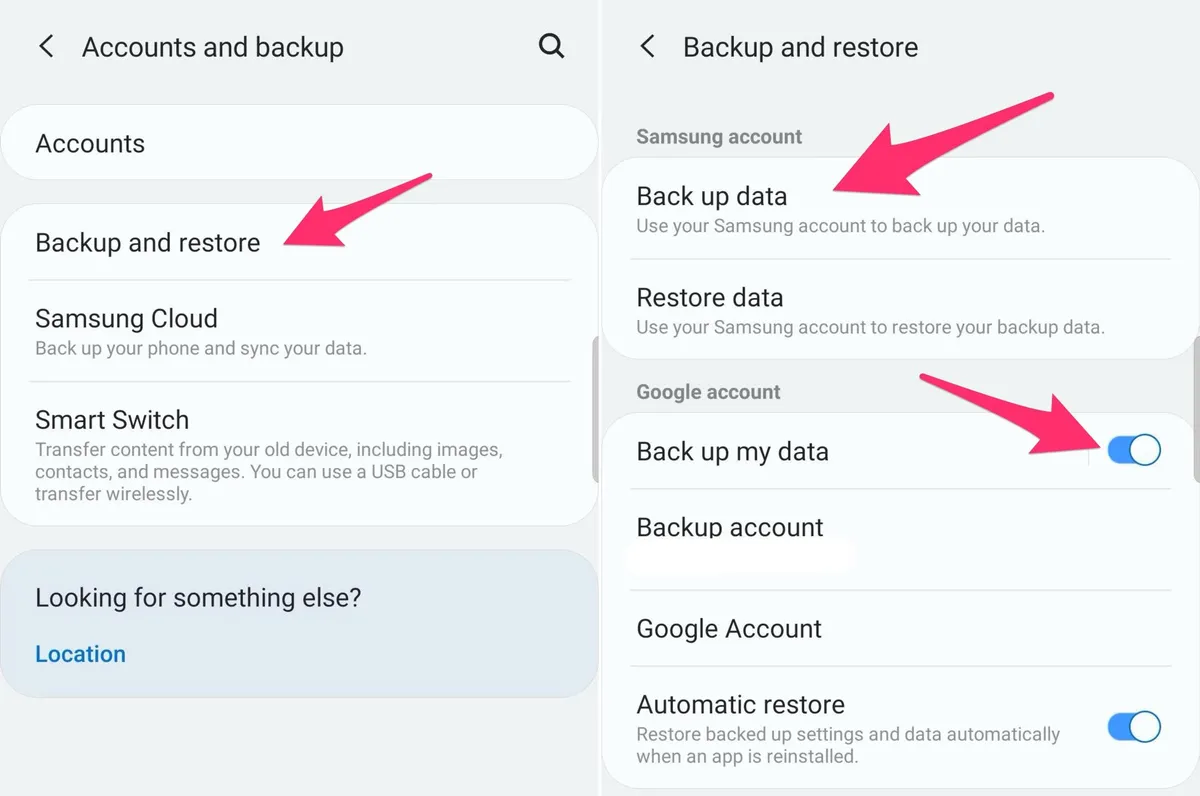
How to Back Up Your Phone Data Automatically
Your phone holds important memories, contacts, and files. Losing it to damage, theft, or malfunction can be devastating but…
Read More »