
How To
-
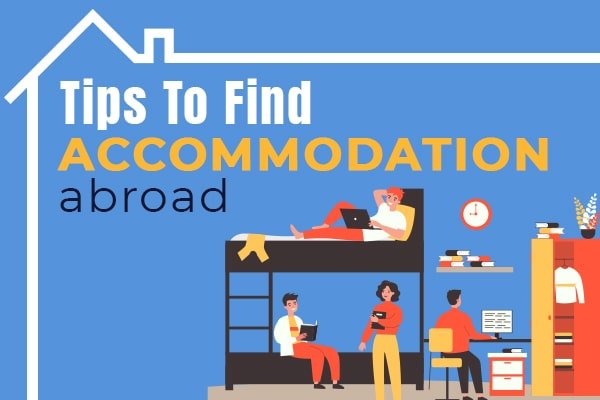
How to Find Student Accommodation Abroad
One of the most important steps after gaining admission abroad is securing safe, comfortable, and affordable accommodation. Where you…
Read More » -

How to Apply for Government Scholarships in Your Country
Government scholarships are one of the best ways for students to fund their education without worrying too much about…
Read More » -
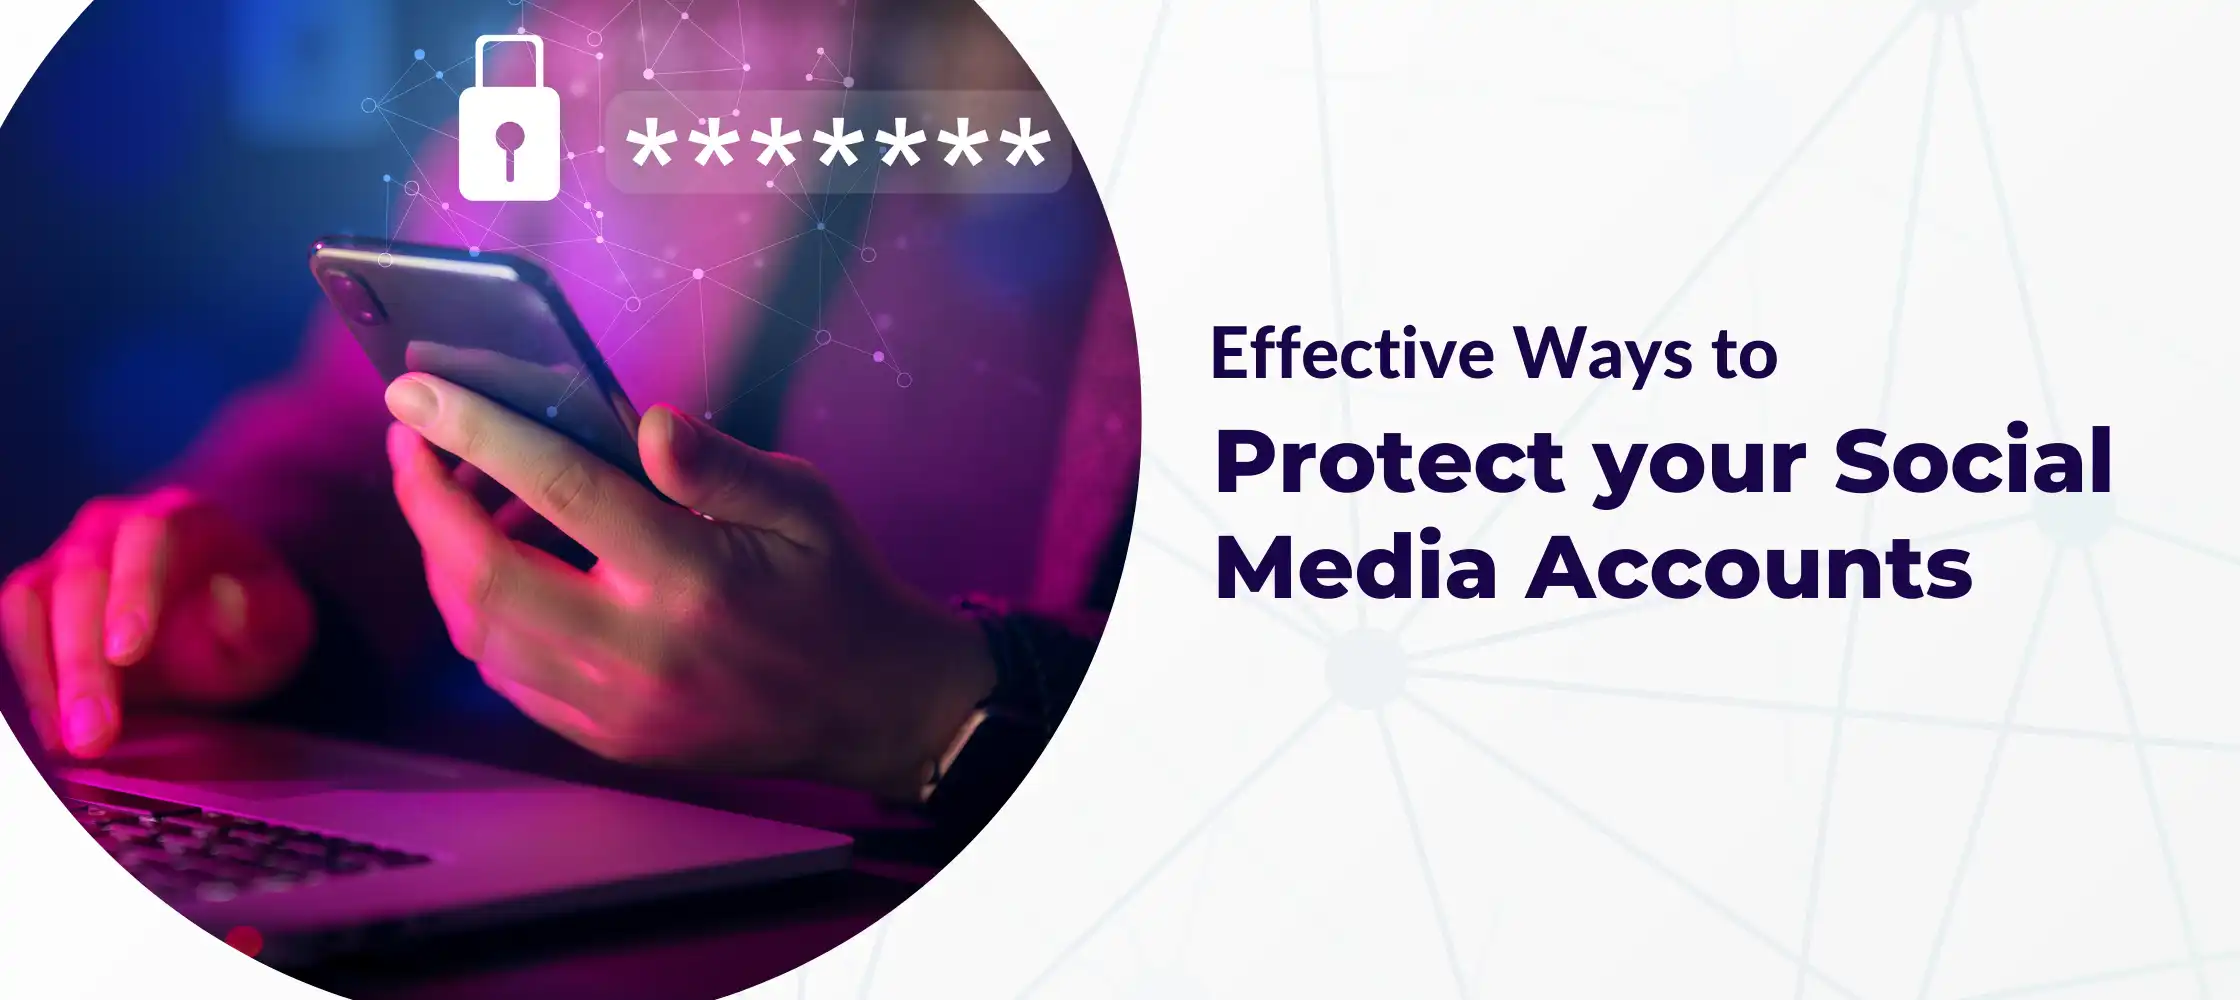
How to Protect Your Social Media Accounts from Hackers
Social media is fun until hackers try to break in. Losing your account could mean losing your photos,…
Read More » -
How to Reset Your Phone Without Losing Data
Sometimes, your phone may slow down or face software glitches, and a reset might be the best solution.…
Read More » -
How to Use Google Drive Like a Pro
Google Drive isn’t just a cloud storage space it’s a powerful productivity tool when you know how to…
Read More » -
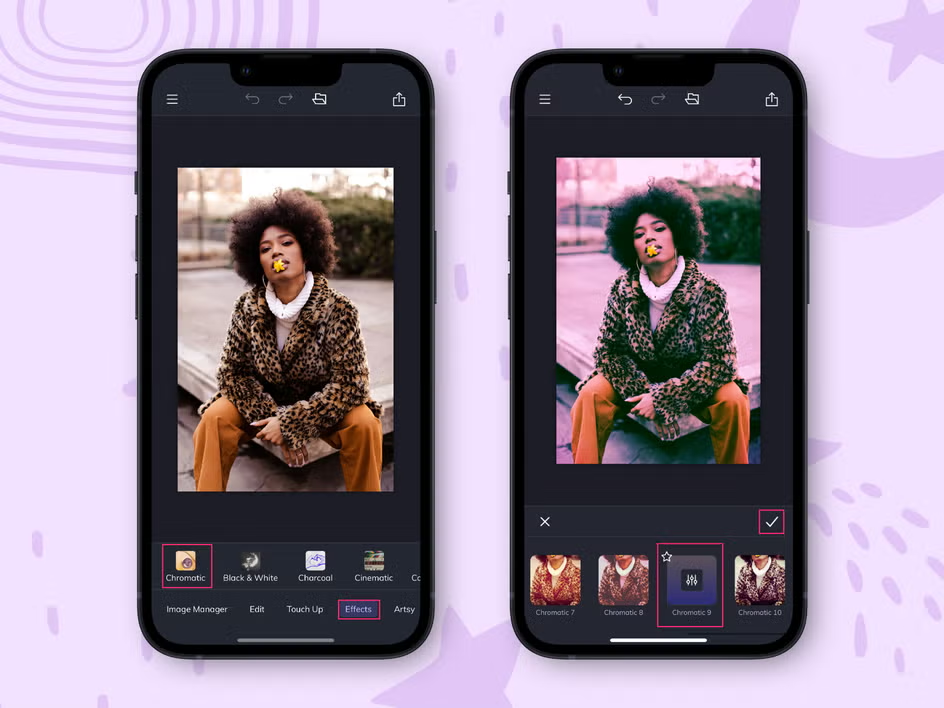
How to Edit Photos on Your Phone
These days, you don’t need a fancy camera or expensive software to make your photos look amazing. With…
Read More » -

How to Start a YouTube Channel
YouTube is one of the most powerful platforms to share your ideas, skills, and creativity. Starting a channel…
Read More » -
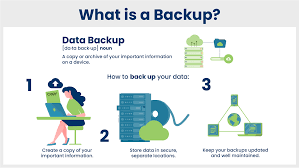
How to Back Up Your Data Safely
Data loss can happen at any time whether from a phone crash, computer damage, or cyberattacks. Backing up your…
Read More » -
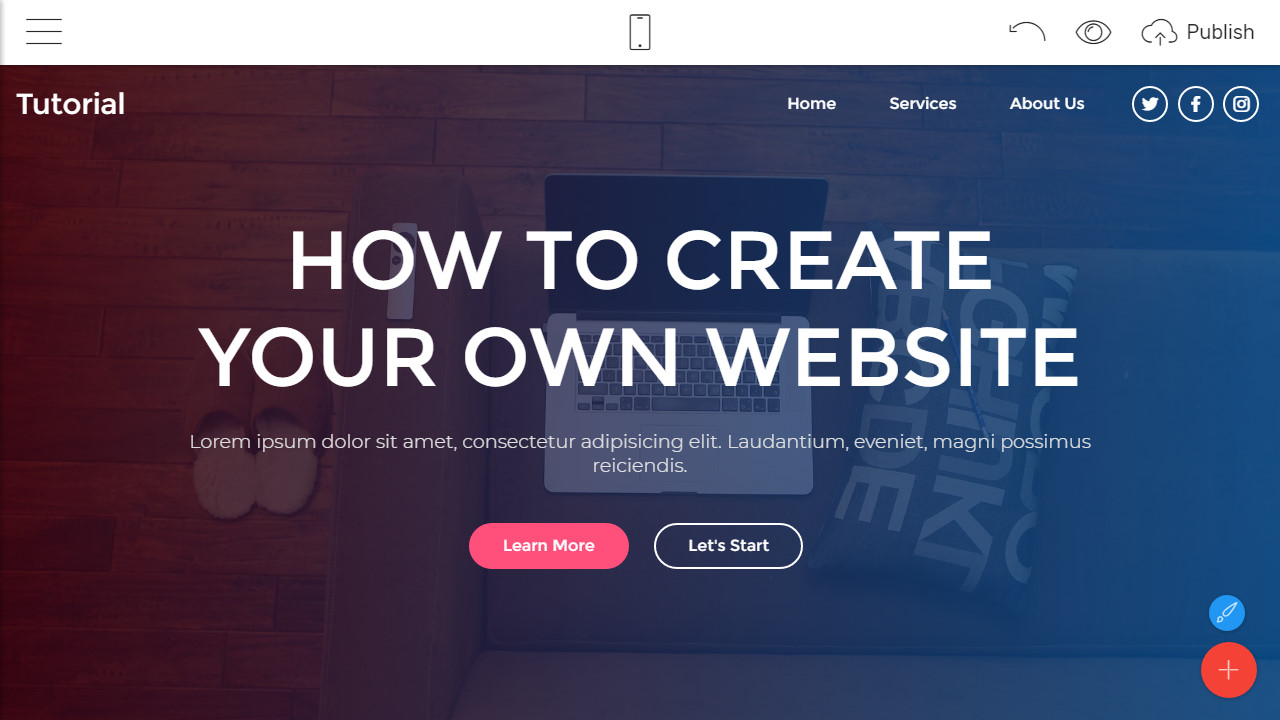
How to Create a Simple Website
Building a website is no longer something only experts can do. With modern tools, anyone can create a…
Read More » -
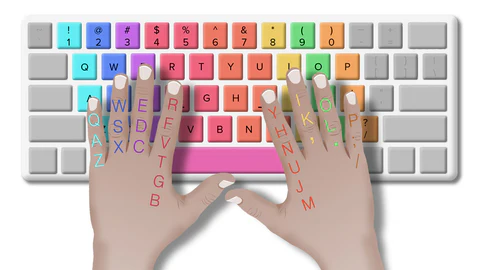
How to Type Faster and Improve Your Keyboard Skills
Typing is one of the most essential digital skills today. Whether you’re a student, a professional, or just…
Read More »