
How To
-

Tips for Staying Motivated When You Feel Stuck
We all have days when we feel unmotivated, stuck, or unsure of our next step. Whether it’s school, work,…
Read More » -

Best Free Apps Every Student Should Have
Being a student isn’t easy — between classes, assignments, and deadlines, it’s important to stay organized and productive. Thankfully,…
Read More » -
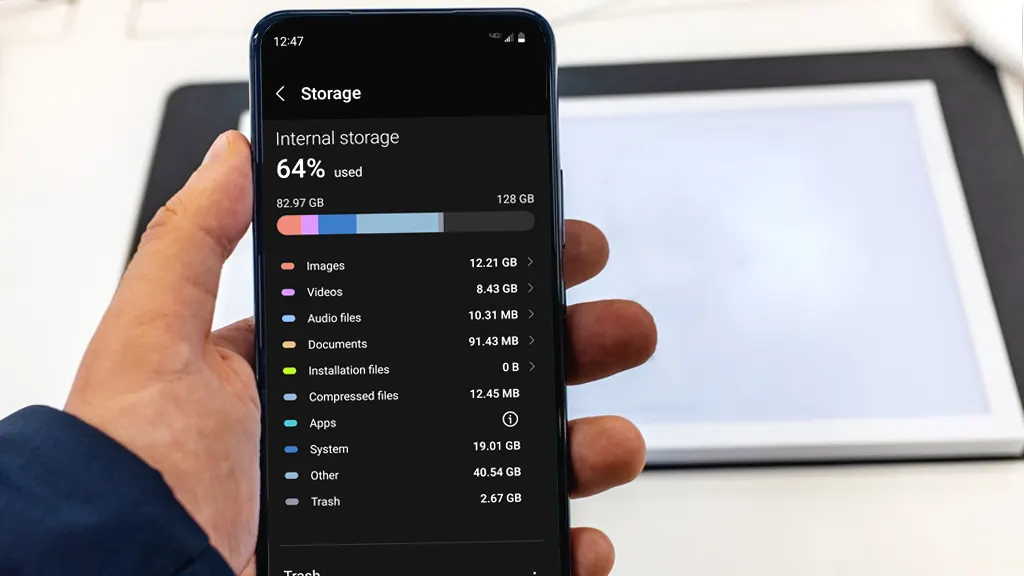
How to Free Up Storage on Your Phone
Simple Ways to Free Up Storage on Your Phone Running out of space on your phone can be frustrating. You…
Read More » -
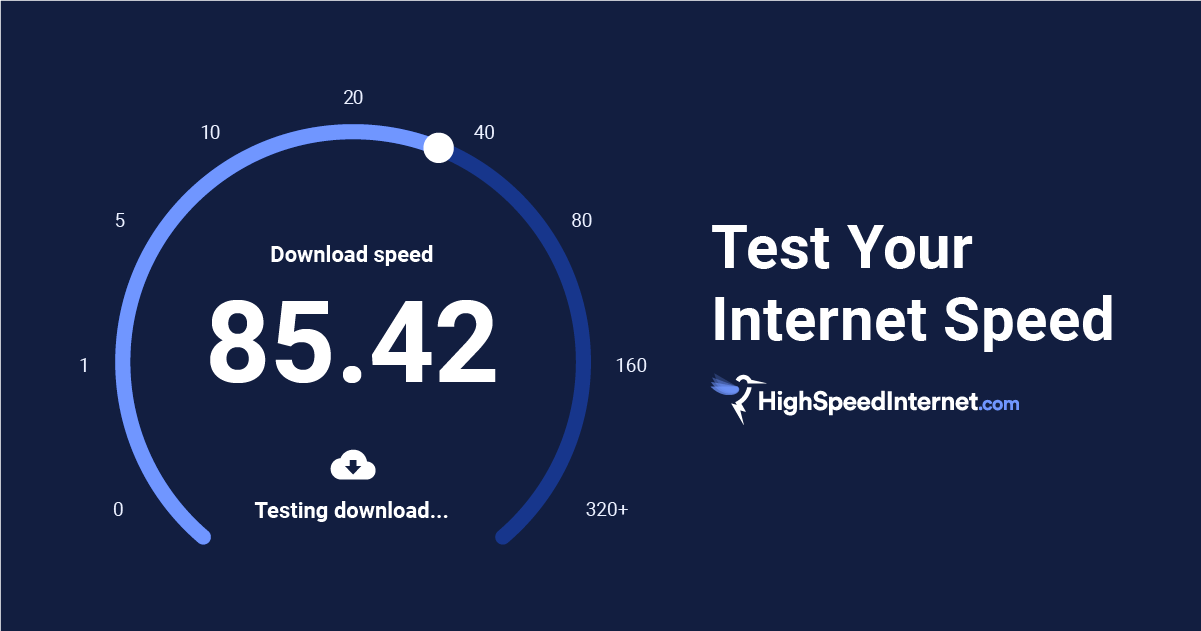
How to Check Your Internet Speed Online
Ever wondered why your videos keep buffering, or your downloads take forever? The problem might be your internet speed.…
Read More » -

How to Register for Netflix in Ghana
Netflix has become one of the most popular streaming platforms worldwide, offering movies, TV series, documentaries, and even African…
Read More » -
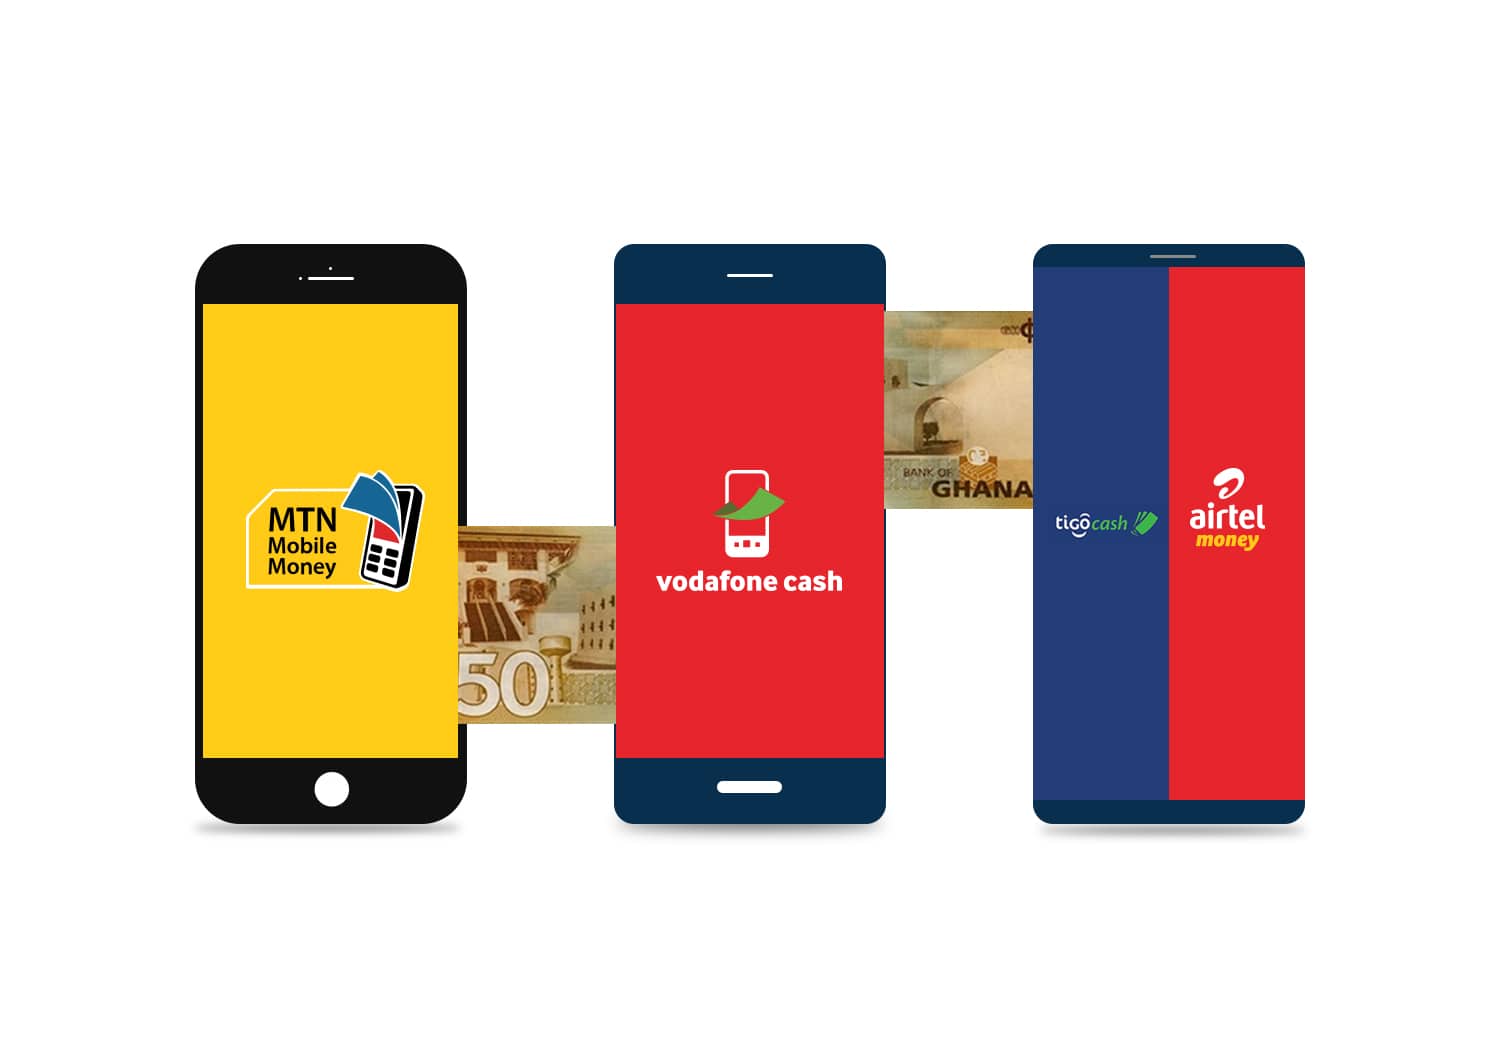
How to Register for a Mobile Money Account in Ghana
Mobile Money (MoMo) services in Ghana—offered by networks like MTN MoMo, Telecel Cash, and AirtelTigo Money—make sending, receiving, and…
Read More » -
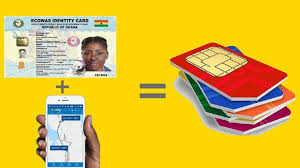
How to Register for a SIM Card in Ghana
In Ghana, SIM card registration is a legal requirement set by the National Communications Authority (NCA) to help reduce…
Read More » -
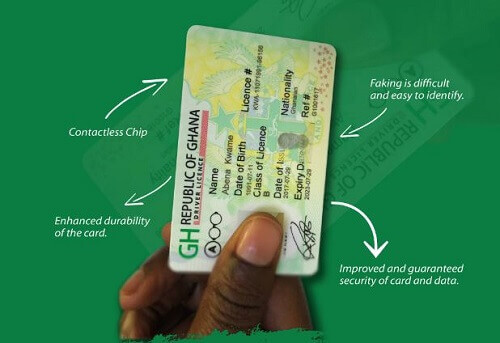
How to Get a Driver’s License in Ghana
Getting a driver’s license in Ghana is a legal requirement before you can drive any vehicle on public roads.…
Read More » -
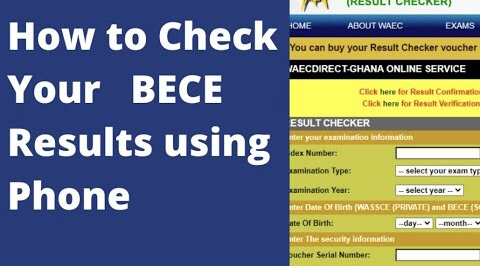
How to Check Your BECE/WASSCE Results in Ghana
Checking your BECE (Basic Education Certificate Examination) or WASSCE (West African Senior School Certificate Examination) results is now…
Read More » -
How to Register Your Vehicle with the DVLA in Ghana
If you’ve just bought a new or used car in Ghana, the next important step is vehicle registration with…
Read More »