
How To
-
How to Register for Google Pay / Apple Pay in Ghana
Digital wallets like Google Pay and Apple Pay have become very popular worldwide, allowing people to pay for goods…
Read More » -
How to Open a Dollar (Foreign Currency) Account in Ghana
If you regularly receive money from abroad, shop online, or want to save in a stable currency, opening…
Read More » -

How to Register for PayPal in Ghana (Alternative Options Included)
PayPal is one of the world’s most trusted online payment systems. It allows people to send and receive…
Read More » -
Best Banks in Ghana for Foreigners to Open Accounts
Opening a bank account in Ghana is essential for professionals, students, and expatriates. Here are some top bank…
Read More » -

Things Needed to Have a Bank Account in Ghana as a Foreigner
Opening a bank account in Ghana as a foreigner is possible, but it requires a few important documents…
Read More » -
Simple Guide to Understanding Mobile Banking in Ghana
Technology has changed the way we handle money. In Ghana today, you don’t need to visit a bank…
Read More » -

Why It’s Important to Surround Yourself With Positive People
They say, “Show me your friends, and I’ll show you your future.” The people you spend most of…
Read More » -
How to Register for GhanaPay
GhanaPay is a mobile money service introduced by the Bank of Ghana and the Ghana Association of Banks.…
Read More » -
How to Fix a Camera That Won’t Focus
Few things are more frustrating than trying to capture the perfect shot, only to find that your camera…
Read More » -
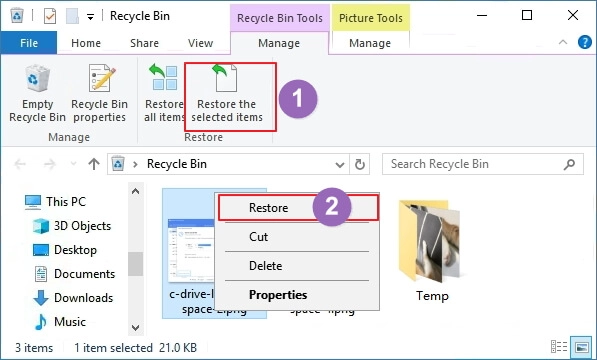
How to Restore Accidentally Deleted Files on Your Computer
We’ve all been there you delete a file thinking you won’t need it, only to realize later it was…
Read More »