
How To
-
Forgot Your DV-2026 Confirmation Number? Here’s How To Recover It
If you’ve lost or forgotten your DV-2026 confirmation number, don’t panic — you can still check your result. The U.S.…
Read More » -

How to Become a Better Writer Without Paying for Classes
Becoming a better writer doesn’t require a fancy degree or expensive course. What it truly takes is curiosity,…
Read More » -

How to Learn Job Ready Skills for Free
In today’s competitive job market, having the right skills matters just as much as having a degree. Employers…
Read More » -

How to Master a Specific Skill Without Spending a Dime
In a world filled with online courses, expensive programs, and training fees, it’s easy to think you need…
Read More » -
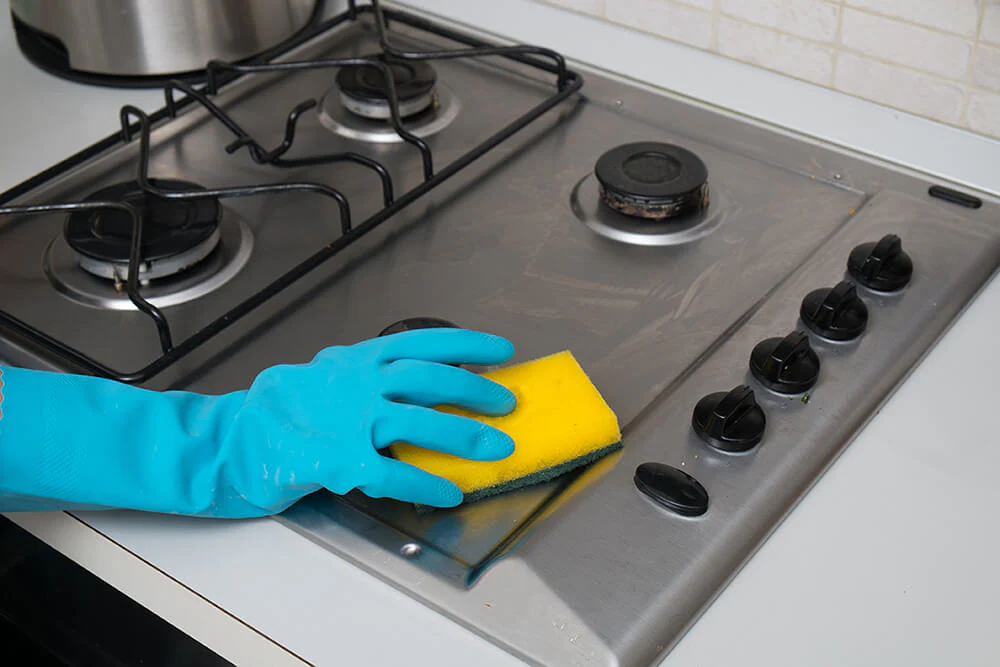
How to Clean and Maintain Your Gas Cooker for Safety
A gas cooker is one of the most important appliances in the home, but it also poses a safety…
Read More » -

How to Find Affordable Flights as a Student Traveler
Traveling can be one of the most expensive things for a student, especially when it comes to purchasing tickets.…
Read More » -

How to Use Google Drive Effectively for Schoolwork
In today’s digital world, staying organized as a student is just as important as studying itself. Google Drive…
Read More » -
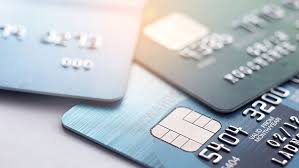
Mistakes to Avoid When Using a Credit Card
Credit cards can be powerful financial tools if used wisely. They help you build credit history, manage emergencies, and…
Read More » -

Romantic Honeymoon Destinations in Africa for Couples
Africa is home to some of the most breathtaking honeymoon destinations in the world. From stunning beaches to wildlife…
Read More » -

Surprise Gift Ideas for Him/Her
Surprising your partner with a thoughtful gift is one of the sweetest ways to show love. It doesn’t…
Read More »