-
How To
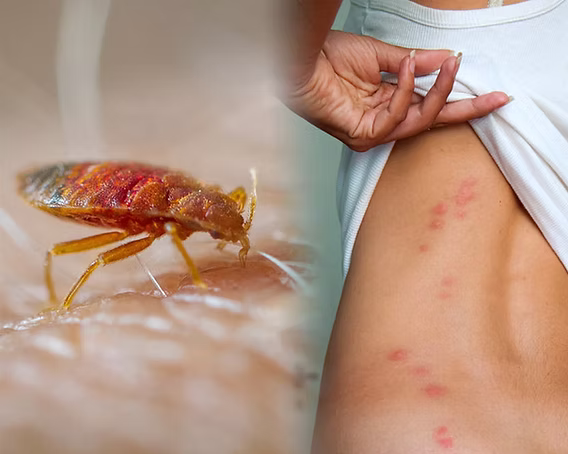
How to Get Rid of Bed Bugs
Bed bugs are tiny insects that hide in mattresses, furniture, and cracks around your home. They feed on human…
Read More » -
How To

How to Obtain a Flat Tummy
Many people desire a flat tummy for health, fitness, or confidence reasons. While there are no instant results,…
Read More » -
How To
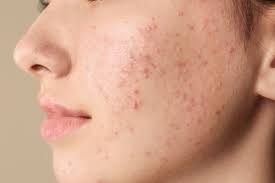
How to Get Rid of Pimples
Pimples are a common skin problem that can affect anyone, especially during teenage years or times of stress. While…
Read More » -
Travel News

Big Win for Ghana: U.S. Restores 5-Year Multiple-Entry Visas
Ghanaian travellers can once again apply for five-year multiple-entry visas to the United States. Foreign Minister Samuel Okudzeto Ablakwa announced…
Read More » -
Travel News

Sweden Launches “The Swedish Prescription” – World’s First Travel Destination on Prescription
Visit Sweden has launched a bold new campaign, positioning the country as the world’s first travel destination that can be…
Read More » -
Travel News

Full list of visa free countries for Ghanaian passport holders (Updated September 2025)
Holders of Ghanaian passports have visa-free access to 47 countries, ranking the Ghanaian passport 70th in the 2025 Global Passport…
Read More » -
How To

Tips for Staying Motivated When You Feel Stuck
We all have days when we feel unmotivated, stuck, or unsure of our next step. Whether it’s school, work,…
Read More » -
How To

Financial Planning for Couples: Money and Love
Money and love are two of the most sensitive topics in a relationship. Many couples fight not because…
Read More » -
How To

The Role of Respect in Every Relationship
Every healthy relationship whether romantic, family, friendship, or work related needs one essential ingredient: respect. Without it, love fades,…
Read More » -
How To
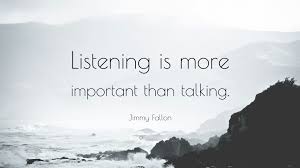
Why Listening is More Important Than Talking in Love
In relationships, many people believe that communication is all about talking. But the truth is, listening is even…
Read More »