-
How To
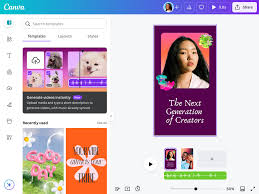
How to Design Social Media Graphics on Canva
Social media is all about visuals. Whether you’re posting for fun, promoting your business, or building your personal brand,…
Read More » -
How To
How to Design a Professional Looking Homepage
Your homepage is the first impression visitors get when they land on your website. A well designed homepage makes…
Read More » -
How To
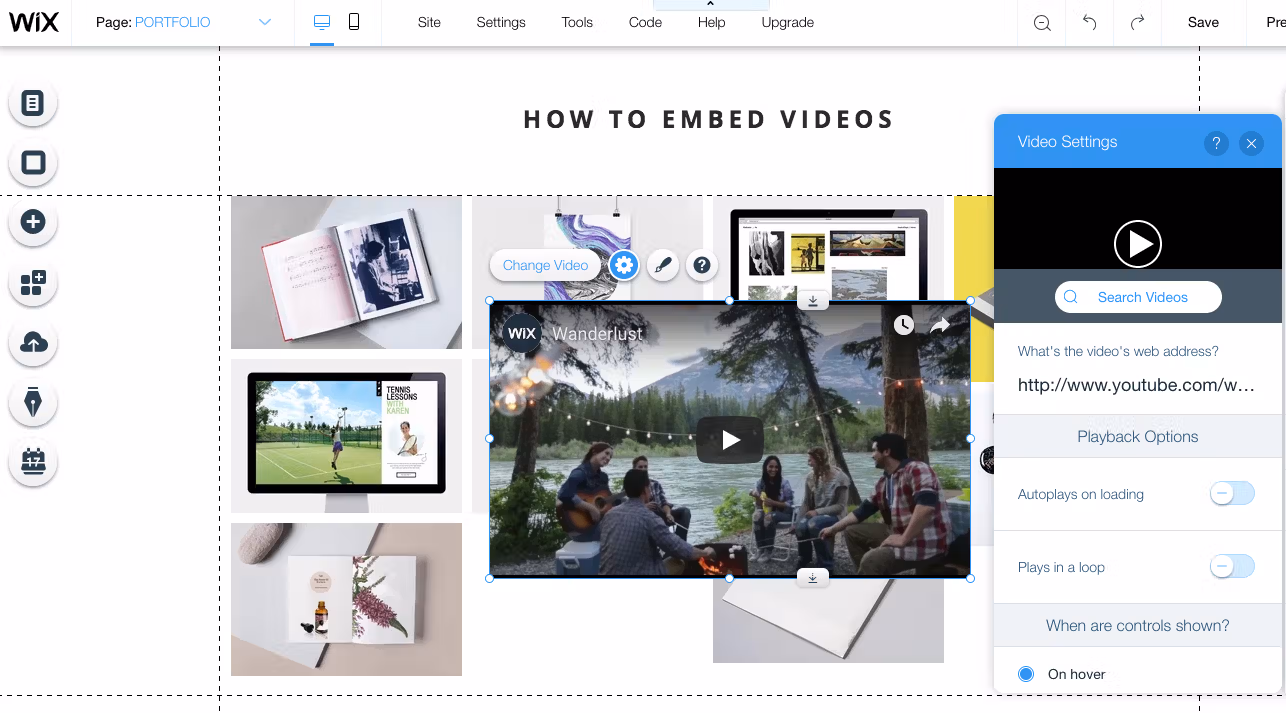
How to Add Images and Videos to Your Website
Images and videos make a website more attractive, engaging, and professional. They help explain your content better and…
Read More » -
How To
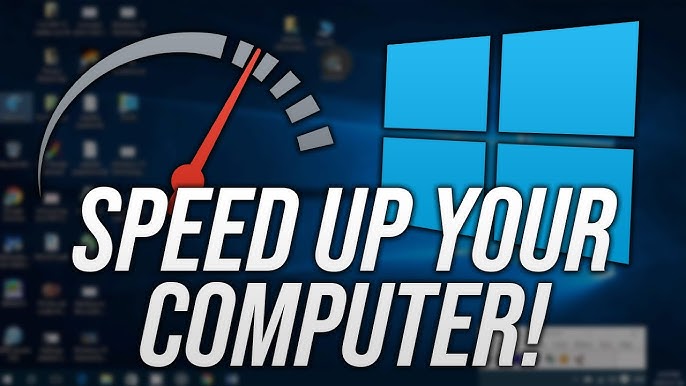
How to Clean and Speed Up Your Computer
Over time, computers can become slow, cluttered, and less efficient. The good news is that you don’t always…
Read More » -
How To
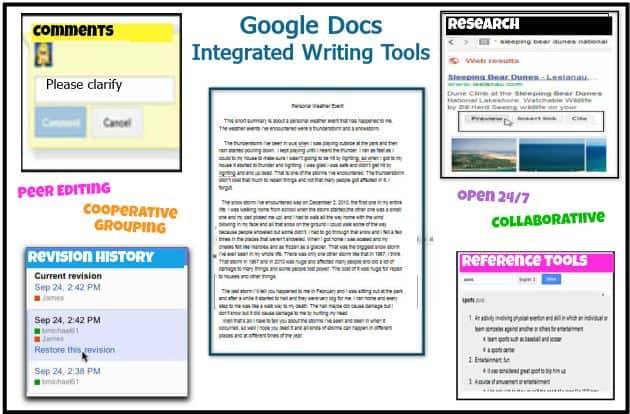
How to Use Google Docs for School or Work
Google Docs is a free online word processor that makes writing, editing, and sharing documents simple. Whether you’re a…
Read More » -
How To
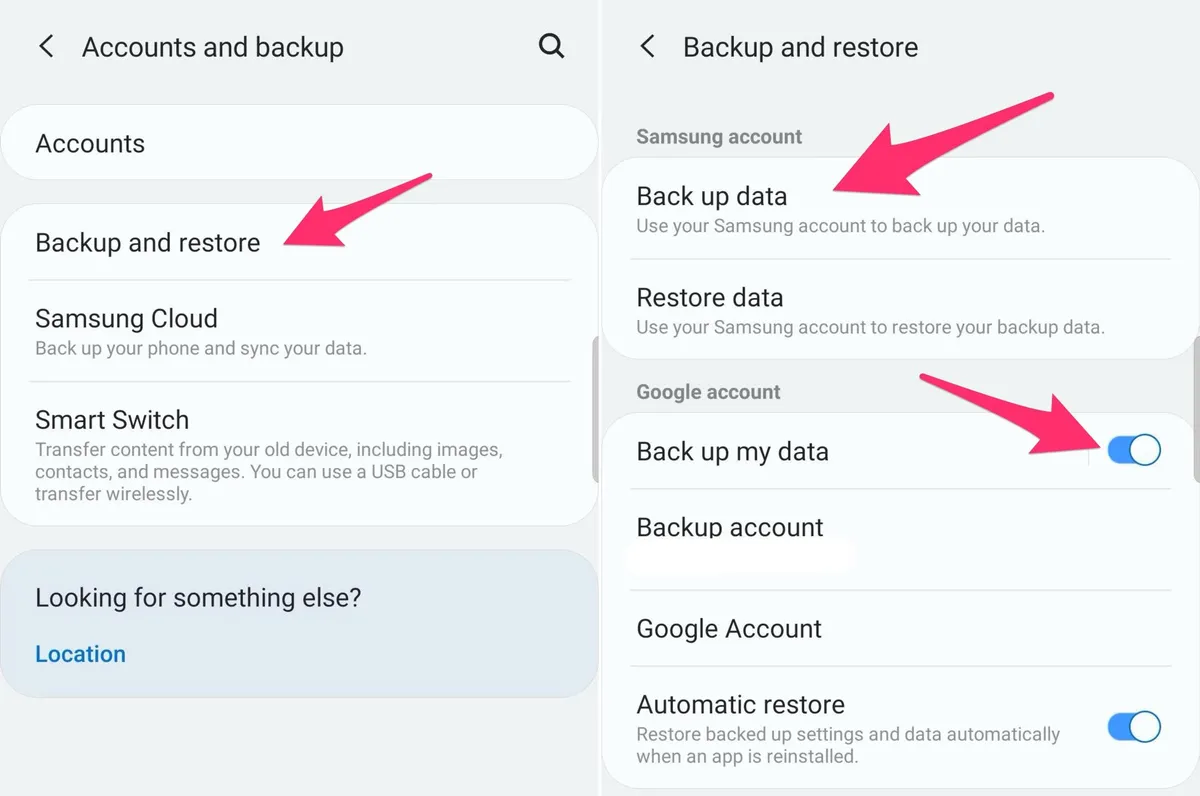
How to Back Up Your Phone Data Automatically
Your phone holds important memories, contacts, and files. Losing it to damage, theft, or malfunction can be devastating but…
Read More » -
How To

How to Create a QR Code for Free
QR codes are everywhere from restaurant menus to business cards. They make it easy for people to scan and…
Read More » -
How To
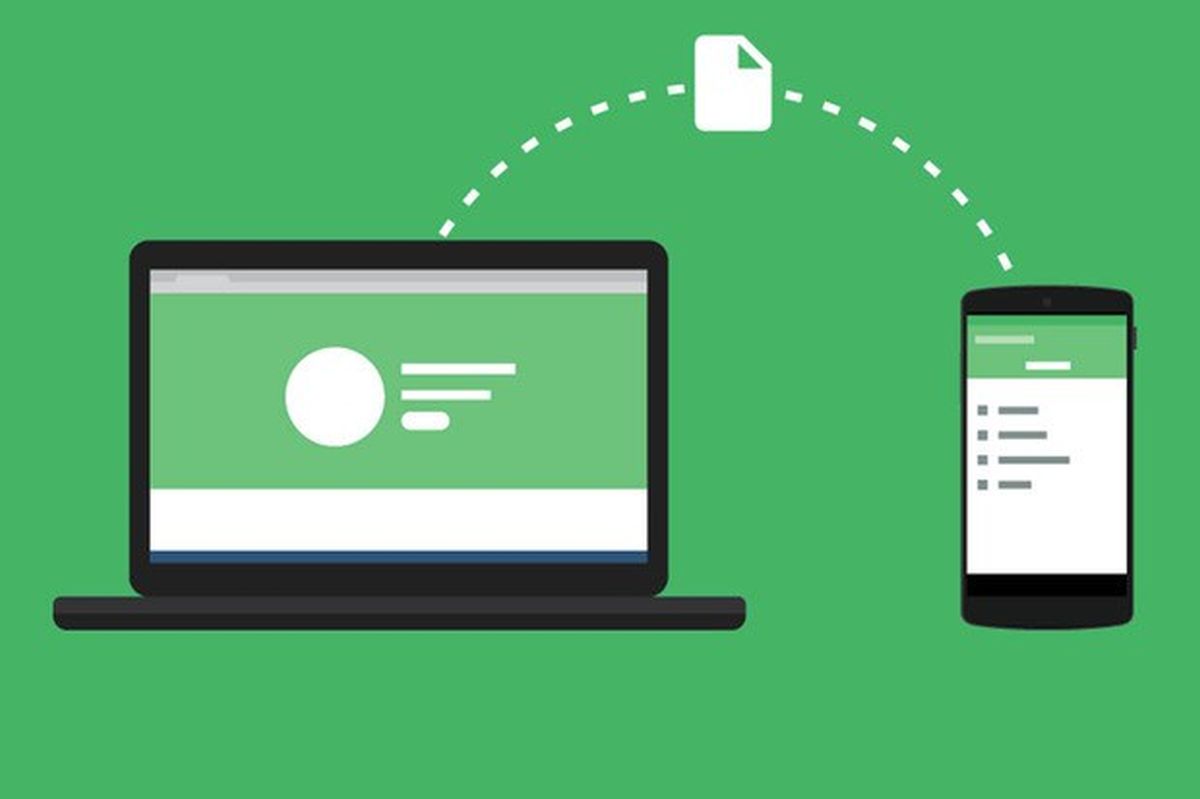
How to Transfer Files Between Phone and Computer
Sometimes you need to move photos, videos, music, or documents between your phone and computer. Luckily, there are…
Read More » -
How To
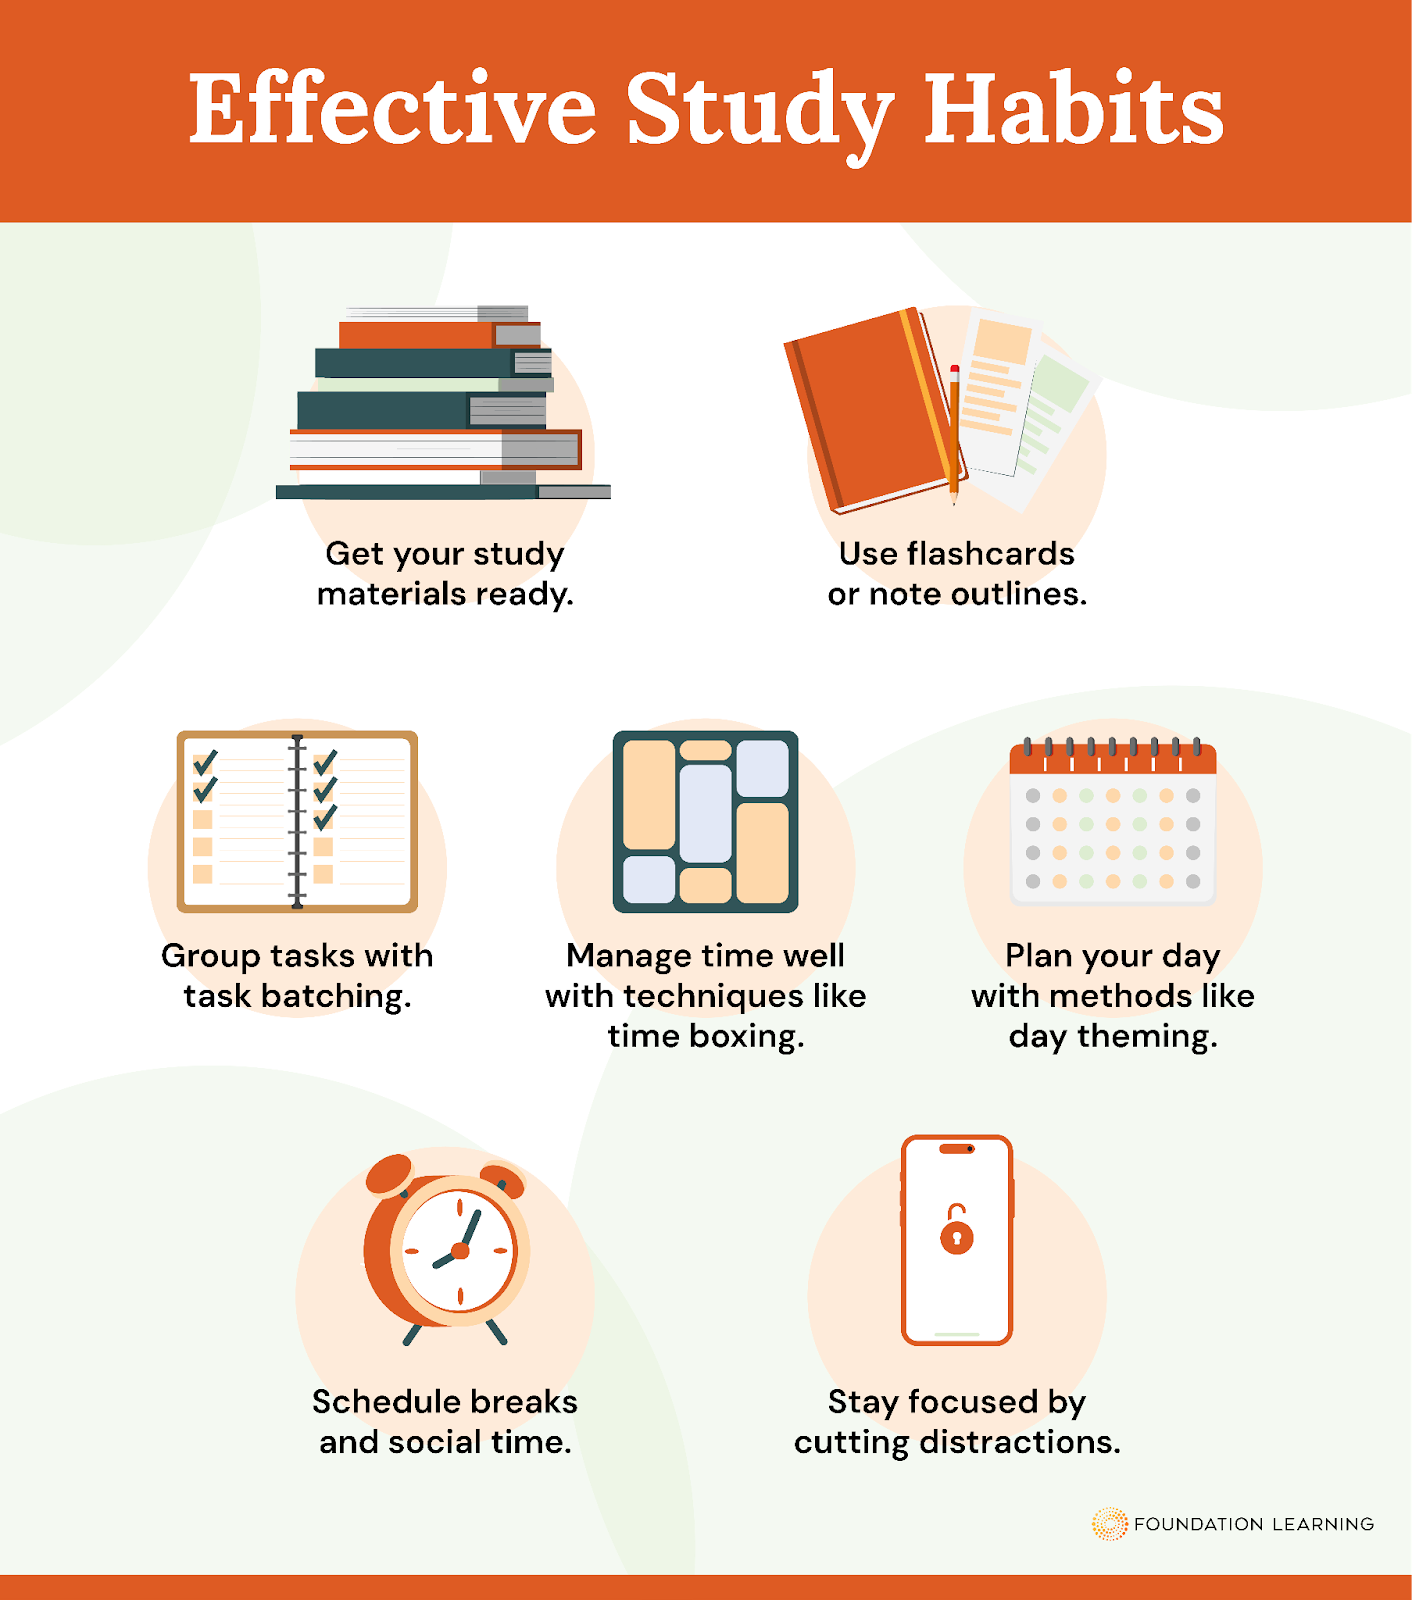
How to Build Better Study Habits
Studying effectively isn’t just about spending long hours with your books it’s about building smart habits that help…
Read More » -
How To
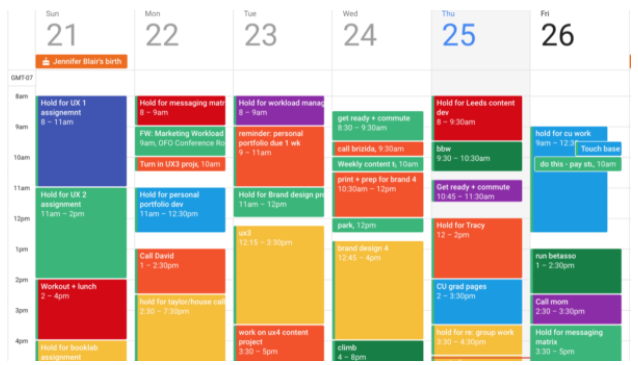
How to Use Google Calendar to Stay Organized
Staying organized can be a challenge, especially when juggling school, work, and personal life. Google Calendar is a…
Read More »