-
How To
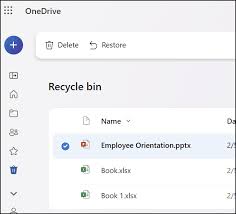
How to Save and Organize Files in OneDrive
Microsoft OneDrive is a cloud storage service that lets you save, access, and share your files from anywhere. Whether…
Read More » -
How To

How to Set Up an Online Store
Selling products online is one of the fastest ways to grow a business today. An online store allows…
Read More » -
How To
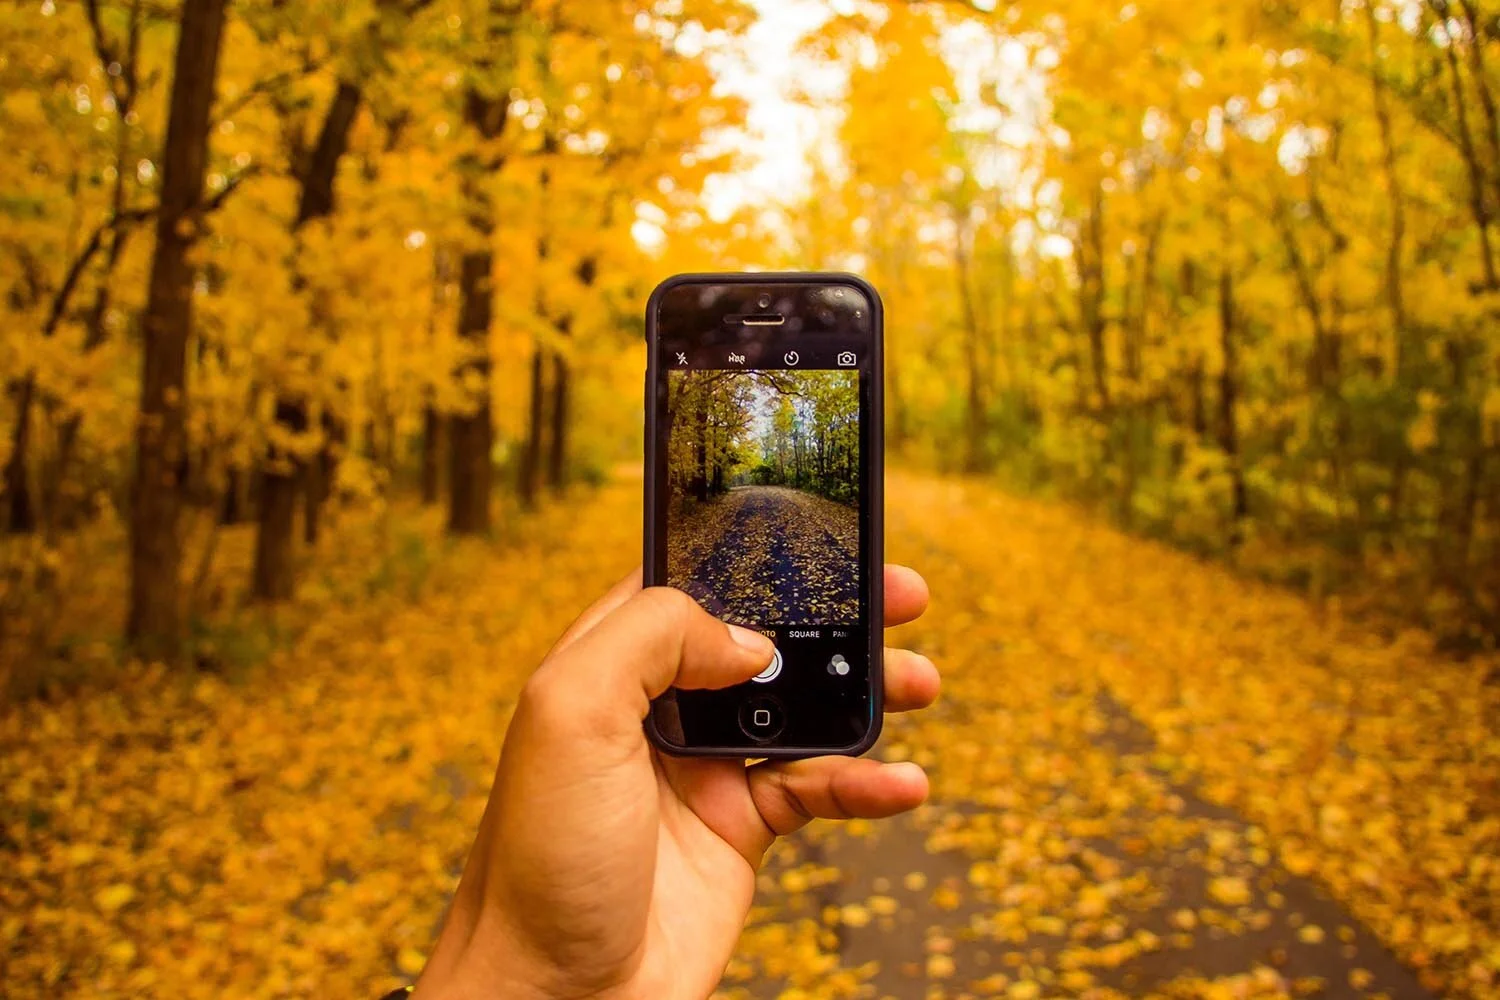
How to Take Better Photos with Your Phone
You don’t need a professional camera to capture stunning photos your smartphone is more powerful than you think.…
Read More » -
How To
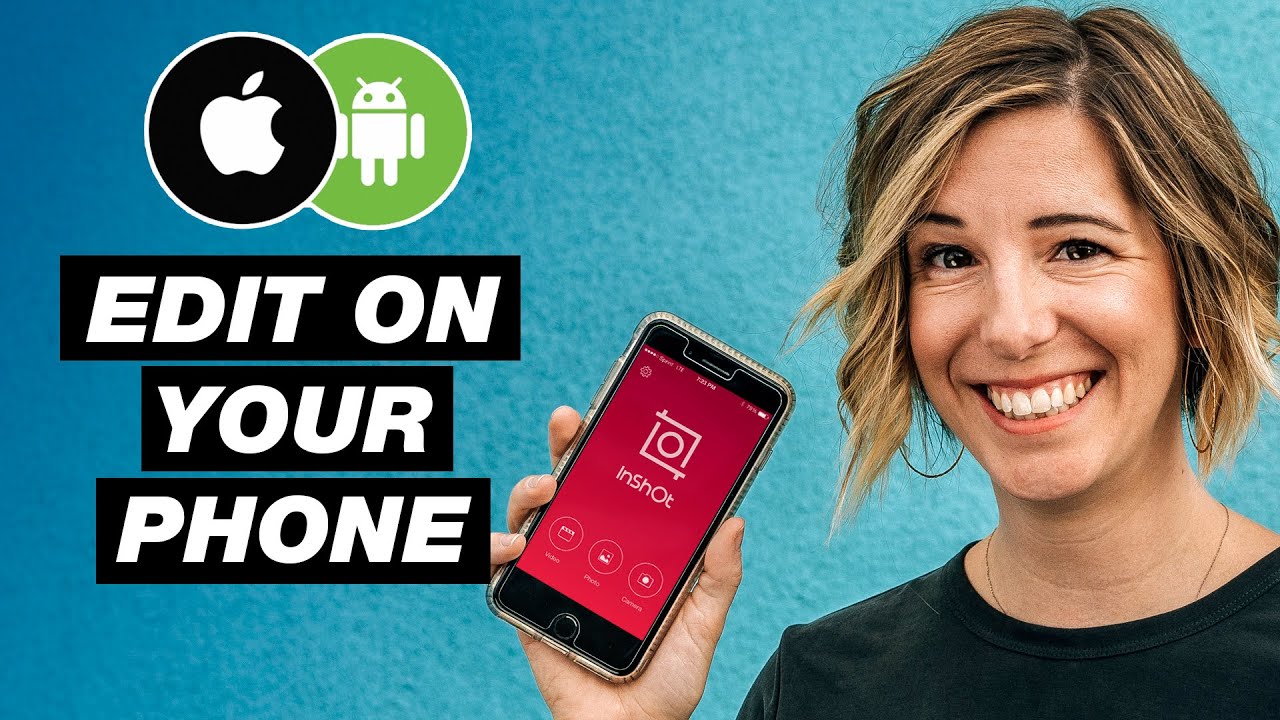
How to Edit Videos on Your Phone
Video editing doesn’t have to be complicated you don’t need a computer or expensive software. With just your smartphone,…
Read More » -
How To
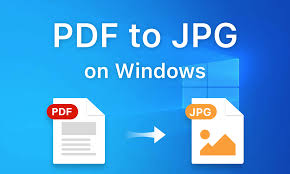
How to Convert Files to Different Formats (PDF, Word, JPG, etc.)
Sometimes you need to change a file into another format for example, converting a Word document into a PDF,…
Read More » -
How To
How to Download and Install Apps Safely
Apps make our phones and computers more useful but downloading from the wrong place can put your device…
Read More » -
How To
How to Fix Common Computer Problems
Computers are powerful tools, but sometimes they don’t work the way we expect. From slow performance to unexpected…
Read More » -
How To
How to Share Large Files Online Safely
Sometimes, email attachments aren’t enough when you need to send large videos, documents, or photos. Luckily, there are…
Read More » -
How To
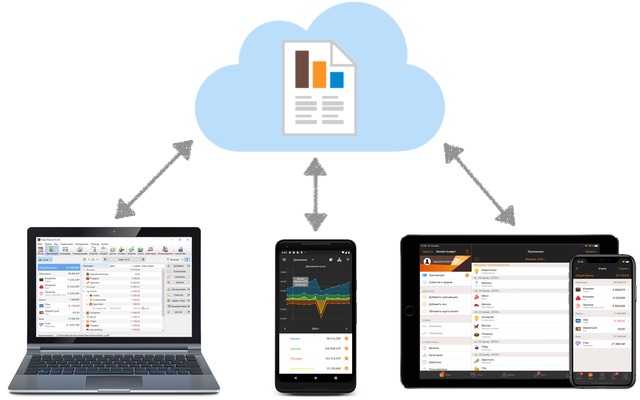
How to Sync Your Data Across Multiple Devices
In today’s digital world, many of us use more than one device like a phone, laptop, or tablet.…
Read More » -
How To
How to Build Your Personal Brand Online
In today’s digital world, your online presence is just as important as your real-life reputation. Whether you’re a…
Read More »