-
How To
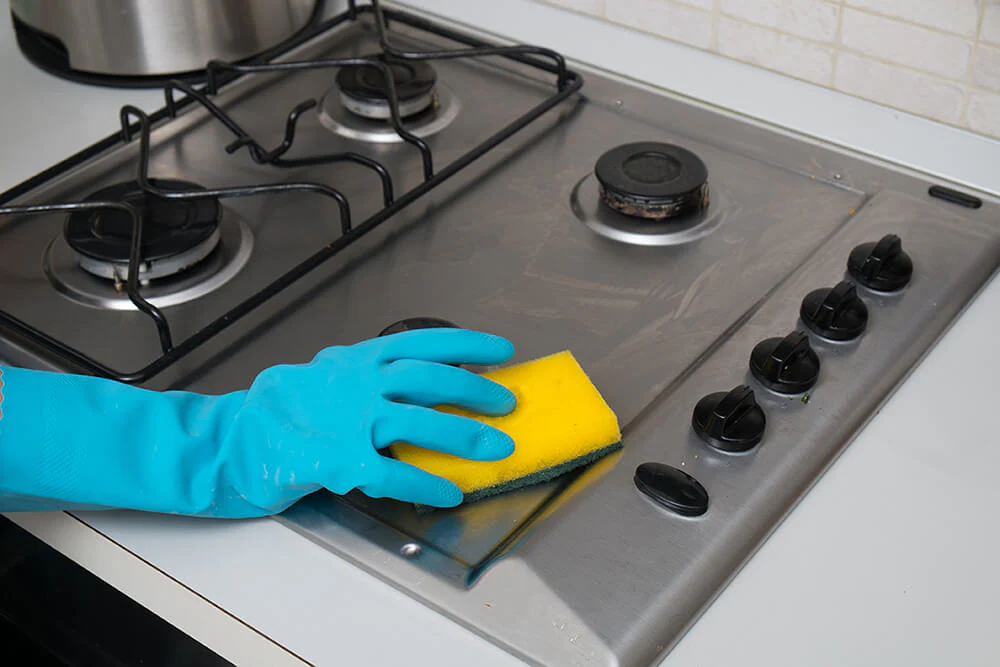
How to Clean and Maintain Your Gas Cooker for Safety
A gas cooker is one of the most important appliances in the home, but it also poses a safety…
Read More » -
How To

How to Find Affordable Flights as a Student Traveler
Traveling can be one of the most expensive things for a student, especially when it comes to purchasing tickets.…
Read More » -
How To

How to Use Google Drive Effectively for Schoolwork
In today’s digital world, staying organized as a student is just as important as studying itself. Google Drive…
Read More » -
How To

Mistakes to Avoid When Using a Credit Card
Credit cards can be powerful financial tools if used wisely. They help you build credit history, manage emergencies, and…
Read More » -
How To

Romantic Honeymoon Destinations in Africa for Couples
Africa is home to some of the most breathtaking honeymoon destinations in the world. From stunning beaches to wildlife…
Read More » -
How To

Surprise Gift Ideas for Him/Her
Surprising your partner with a thoughtful gift is one of the sweetest ways to show love. It doesn’t…
Read More » -
How To
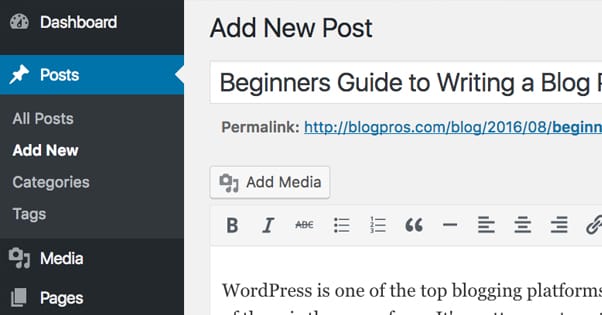
How to Write on a WordPress Blog
WordPress makes it simple to share your ideas, stories, or expertise online. Whether you’re running a personal blog or…
Read More » -
How To

How to Create a Website for Your Business
Having a website is one of the best ways to grow your business, attract new customers, and build…
Read More » -
How To
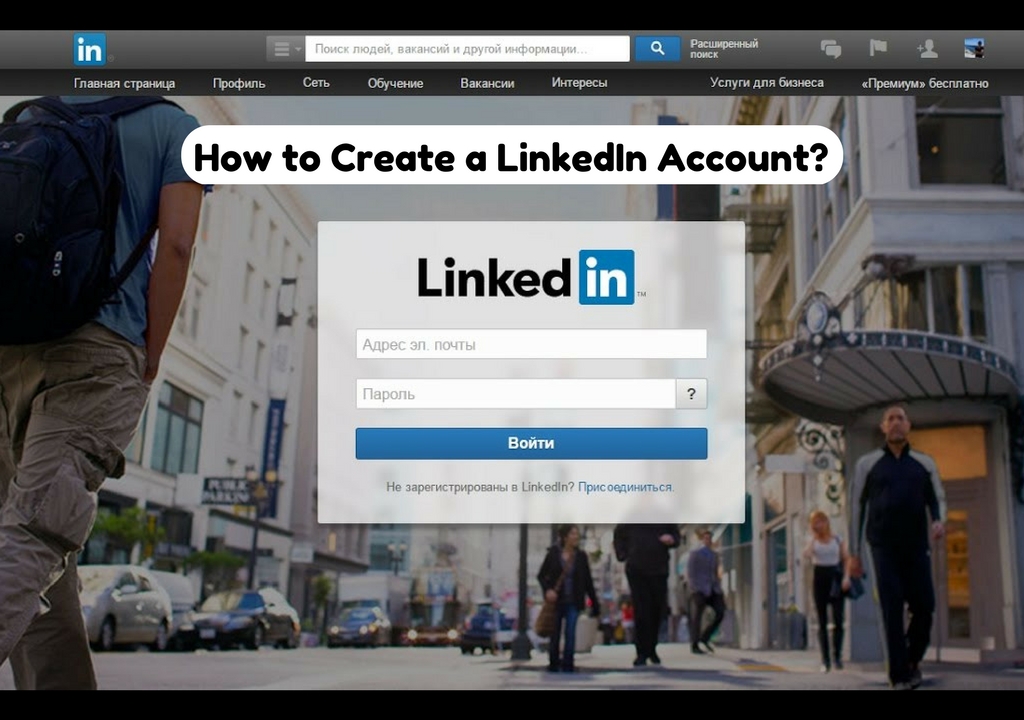
How to Create a LinkedIn Account
LinkedIn is the world’s largest professional networking platform. Creating an account helps you connect with professionals, find job…
Read More » -
How To
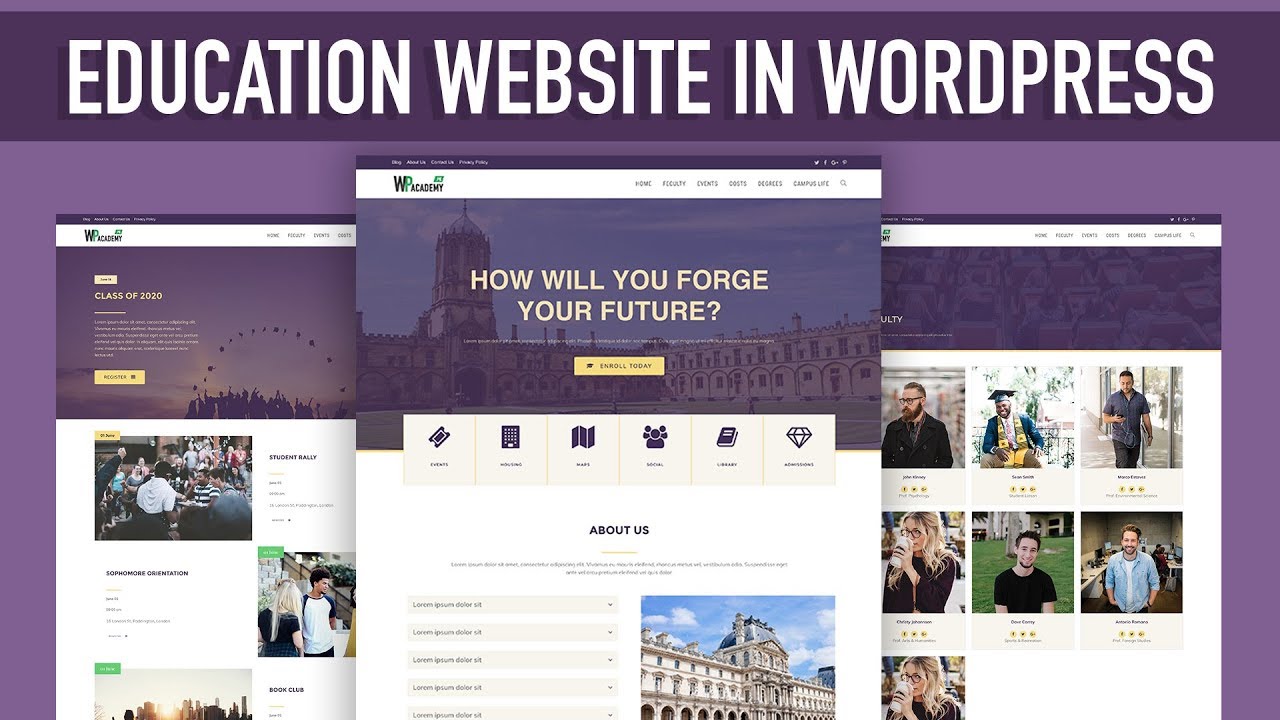
How to Create a Website for a School
A school website is a great way to share information with students, parents, and staff. It can include…
Read More »