A school website is a great way to share information with students, parents, and staff. It can include announcements, academic programs, events, contact details, and even online learning resources.
Step 1: Decide the Purpose of the Website
Ask:
•Is it for basic information (contacts, programs, admissions)?
•For students and parents (homework, results, updates)?
•For marketing (attracting new students)?
This will help you decide the design and content.
Step 2: Choose a Domain Name (School Website Address)
•Example: www.stmarysschoolgh.com
•Keep it simple, short, and related to your school’s name.
•You can buy a domain from providers like GoDaddy, Namecheap, or Google Domains.
Step 3: Select a Hosting Service
Hosting is where your website’s files will live online.
Popular hosting providers:
•Bluehost
•Hostinger
•SiteGround
•Google Sites or WordPress.com (beginner-friendly, free or low-cost).
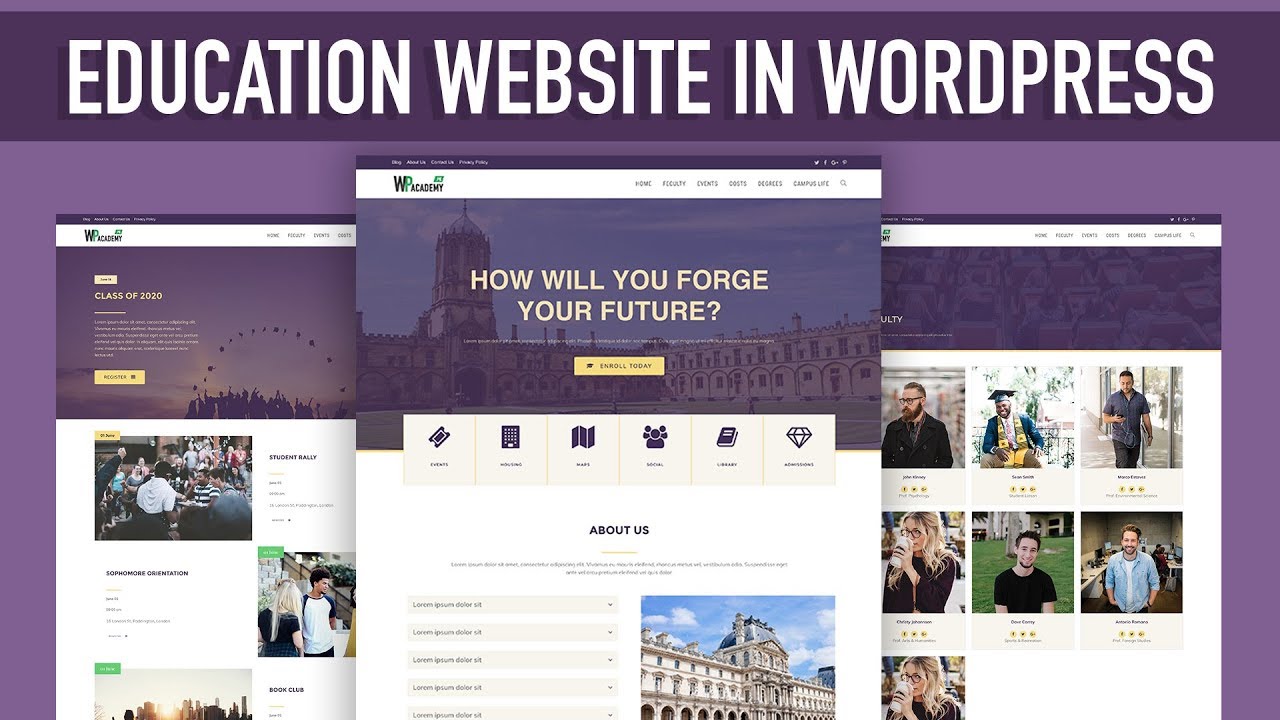
Step 4: Choose a Website Builder or CMS
For schools, these are great options:
•WordPress (most popular, flexible, thousands of school templates).
•Wix (drag-and-drop, easy to use).
•Squarespace (beautiful templates).
•Google Sites (free and simple for basic school websites).
Step 5: Pick a Template (School Design)
Look for a school or education template with sections like:
•Home page
•About Us
•Admissions
•Programs / Courses
•News & Announcements
•Contact Page
Step 6: Add School Content
Fill in your website with details:
•School logo and motto
•Mission & vision
•Programs offered (e.g., Primary, JHS, SHS, College, etc.)
•Admissions information (requirements, deadlines, how to apply)
•Photo gallery (campus, students, teachers)
•Events & News (upcoming exams, PTA meetings, graduations)
•Contact page (phone, email, Google Map location)
Step 7: Add Useful Features
• Calendar (school events, term dates)
• Download section (syllabus, admission forms)
• Student portal (for results, assignments – optional)
• Gallery (photos & videos of school life)
Step 8: Make It Mobile-Friendly
Most parents/students will use phones. Choose a responsive template that adjusts to mobile screens.
Step 9: Secure Your Website (SSL Certificate)
•SSL makes your site safe (shows https://).
•Most hosting providers include it for free.
Step 10: Publish & Maintain the Website
•Regularly update announcements, events, and photos.
•Assign a staff member or IT teacher to maintain it.
•Share the link on social media, flyers, and admission brochures.